
Rumble Studio now lets you upload both videos and short-form content directly, so you never have to leave the platform. You can upload your content, publish it, and manage everything in one place. Let's look at the steps:
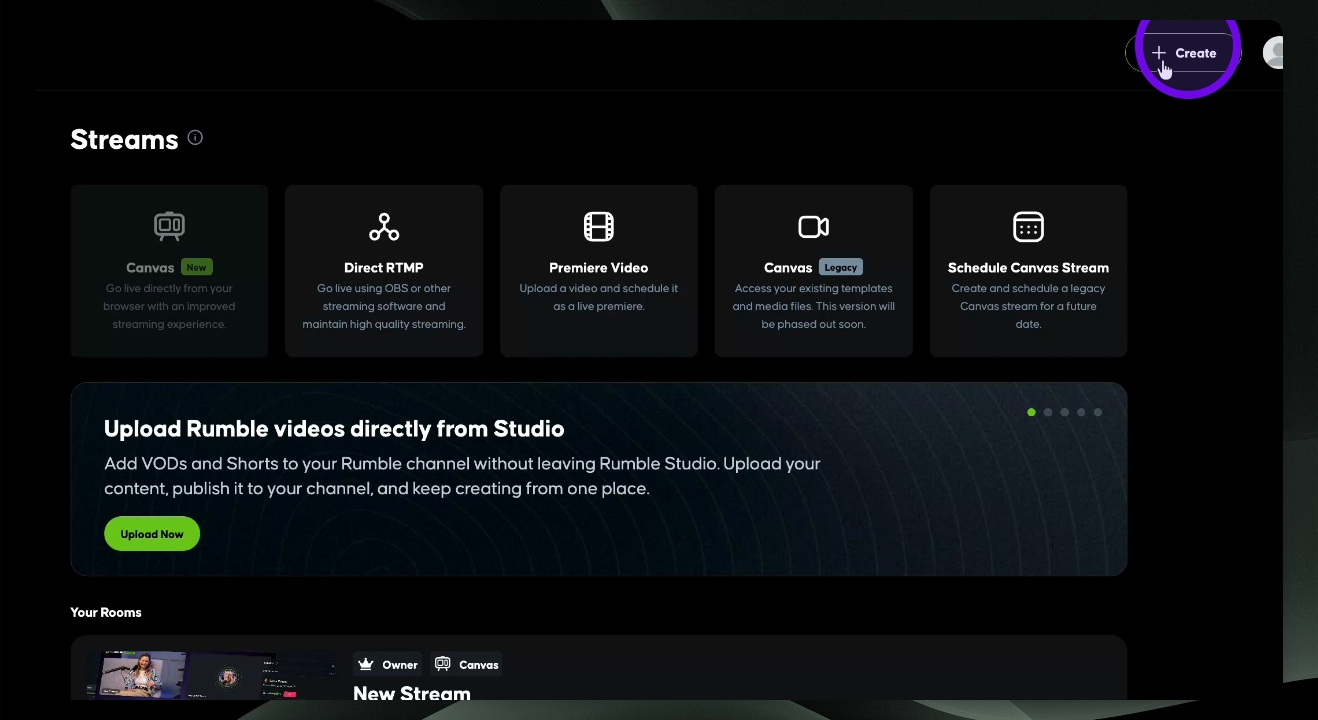
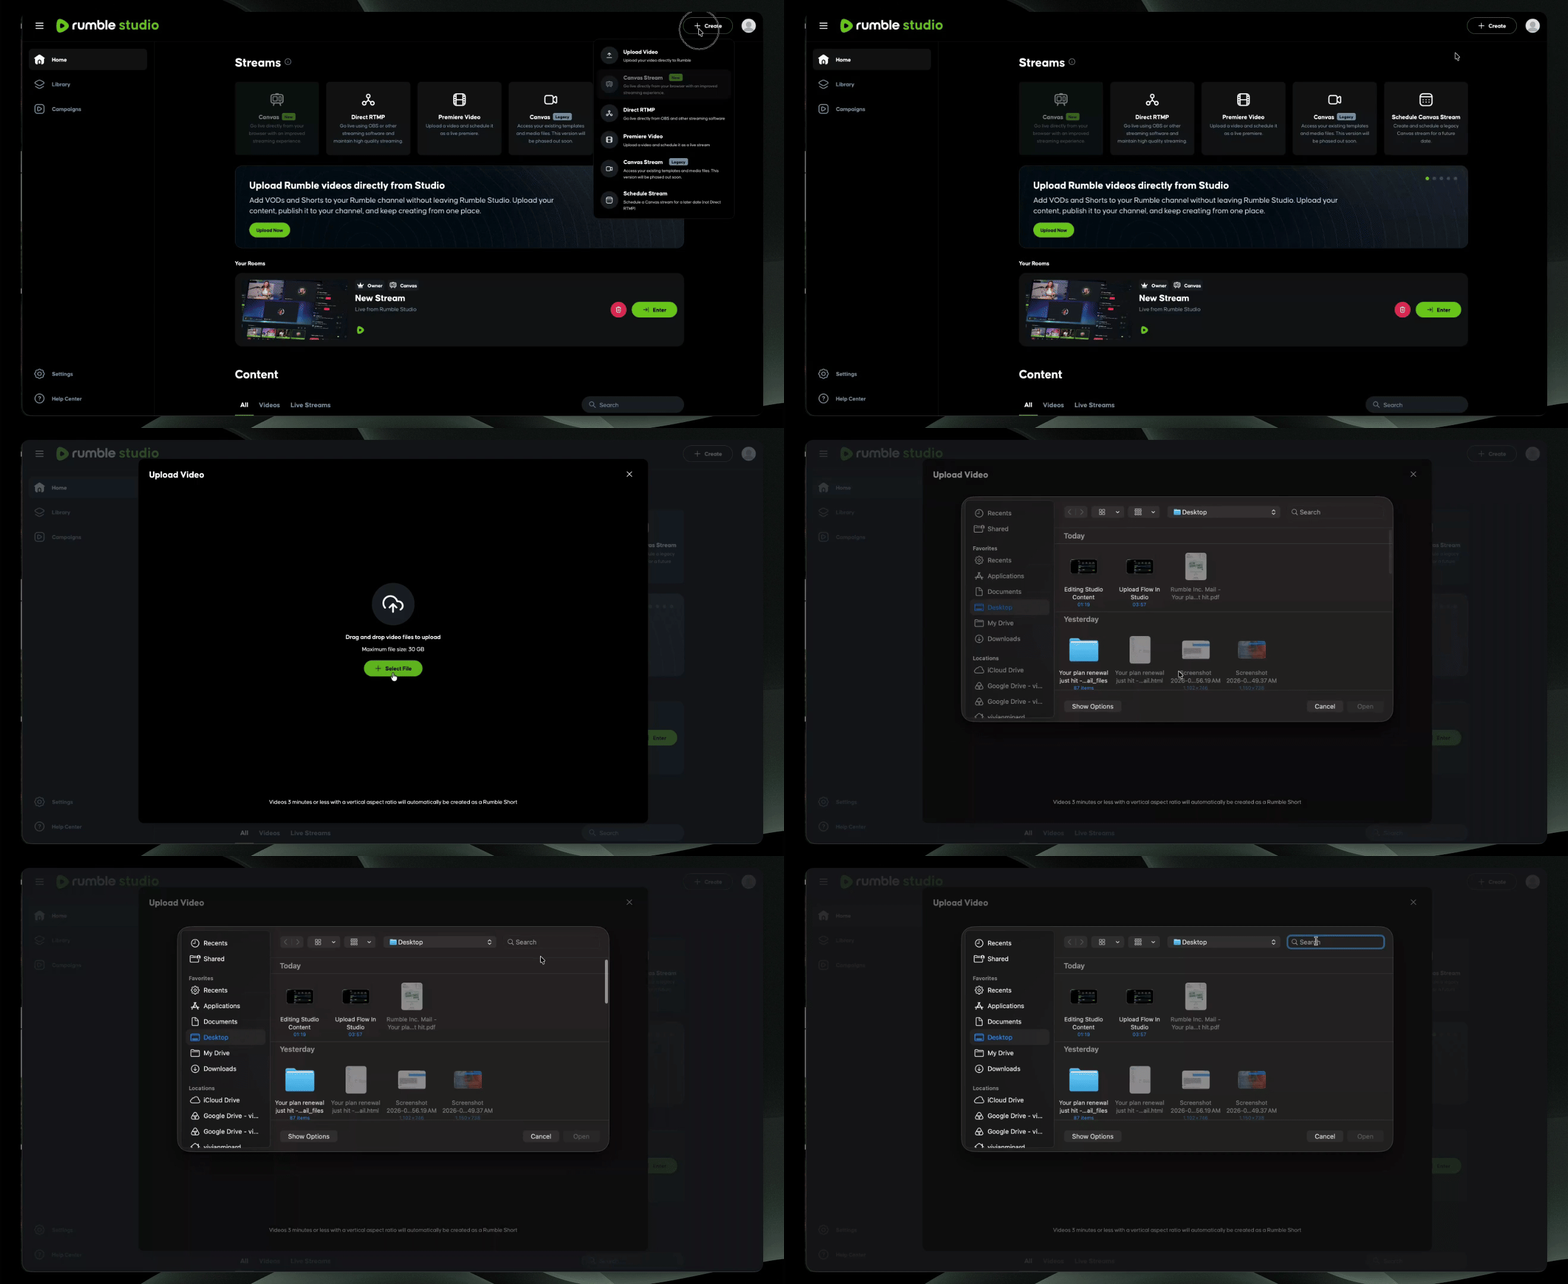
Step 1: Start a New Upload
Go to Studio and click Create to begin uploading your content.
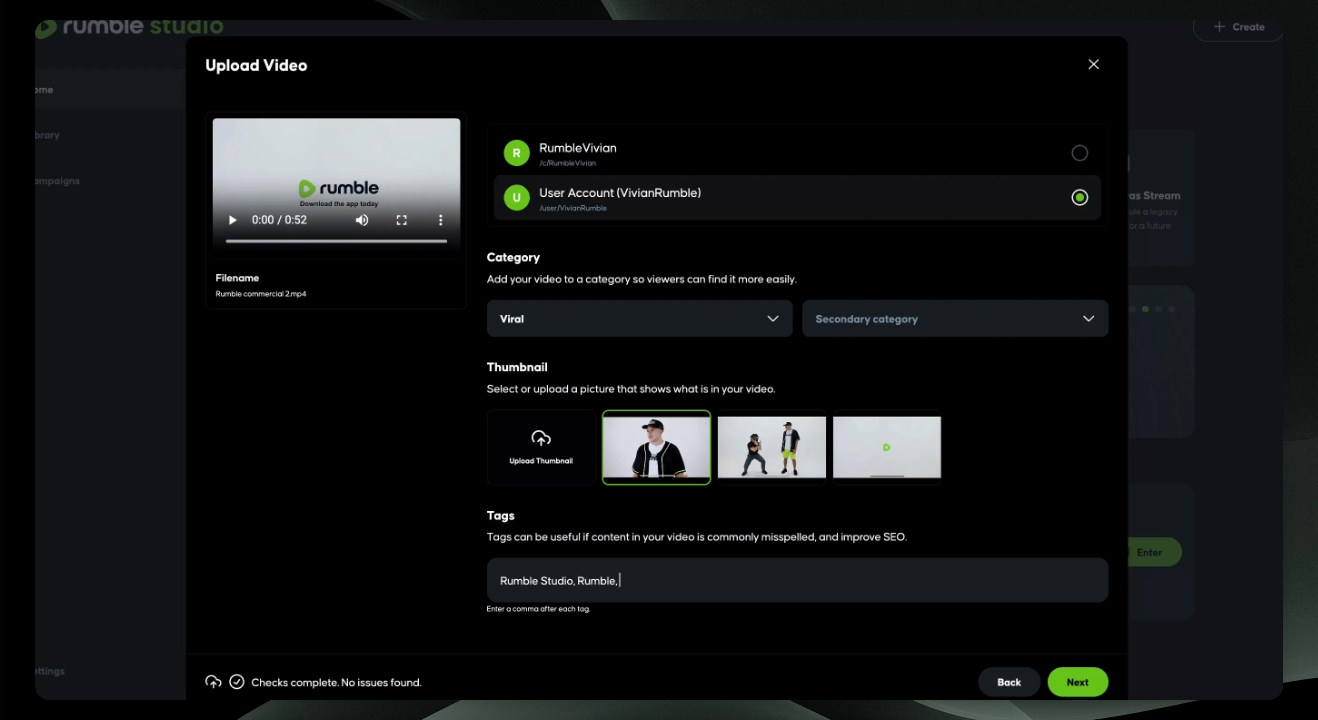
Step 2: Add Video Details
Upload your video file, enter a title and description, select the video author or destination, choose a category, pick a thumbnail, and add relevant tags.
Step 3: Set Preferences and Publish
Choose your monetization options, set content availability and visibility status, decide where the video appears on your channel, opt to send push notifications, and approve the terms of service.
Step 4: Find Uploaded Videos
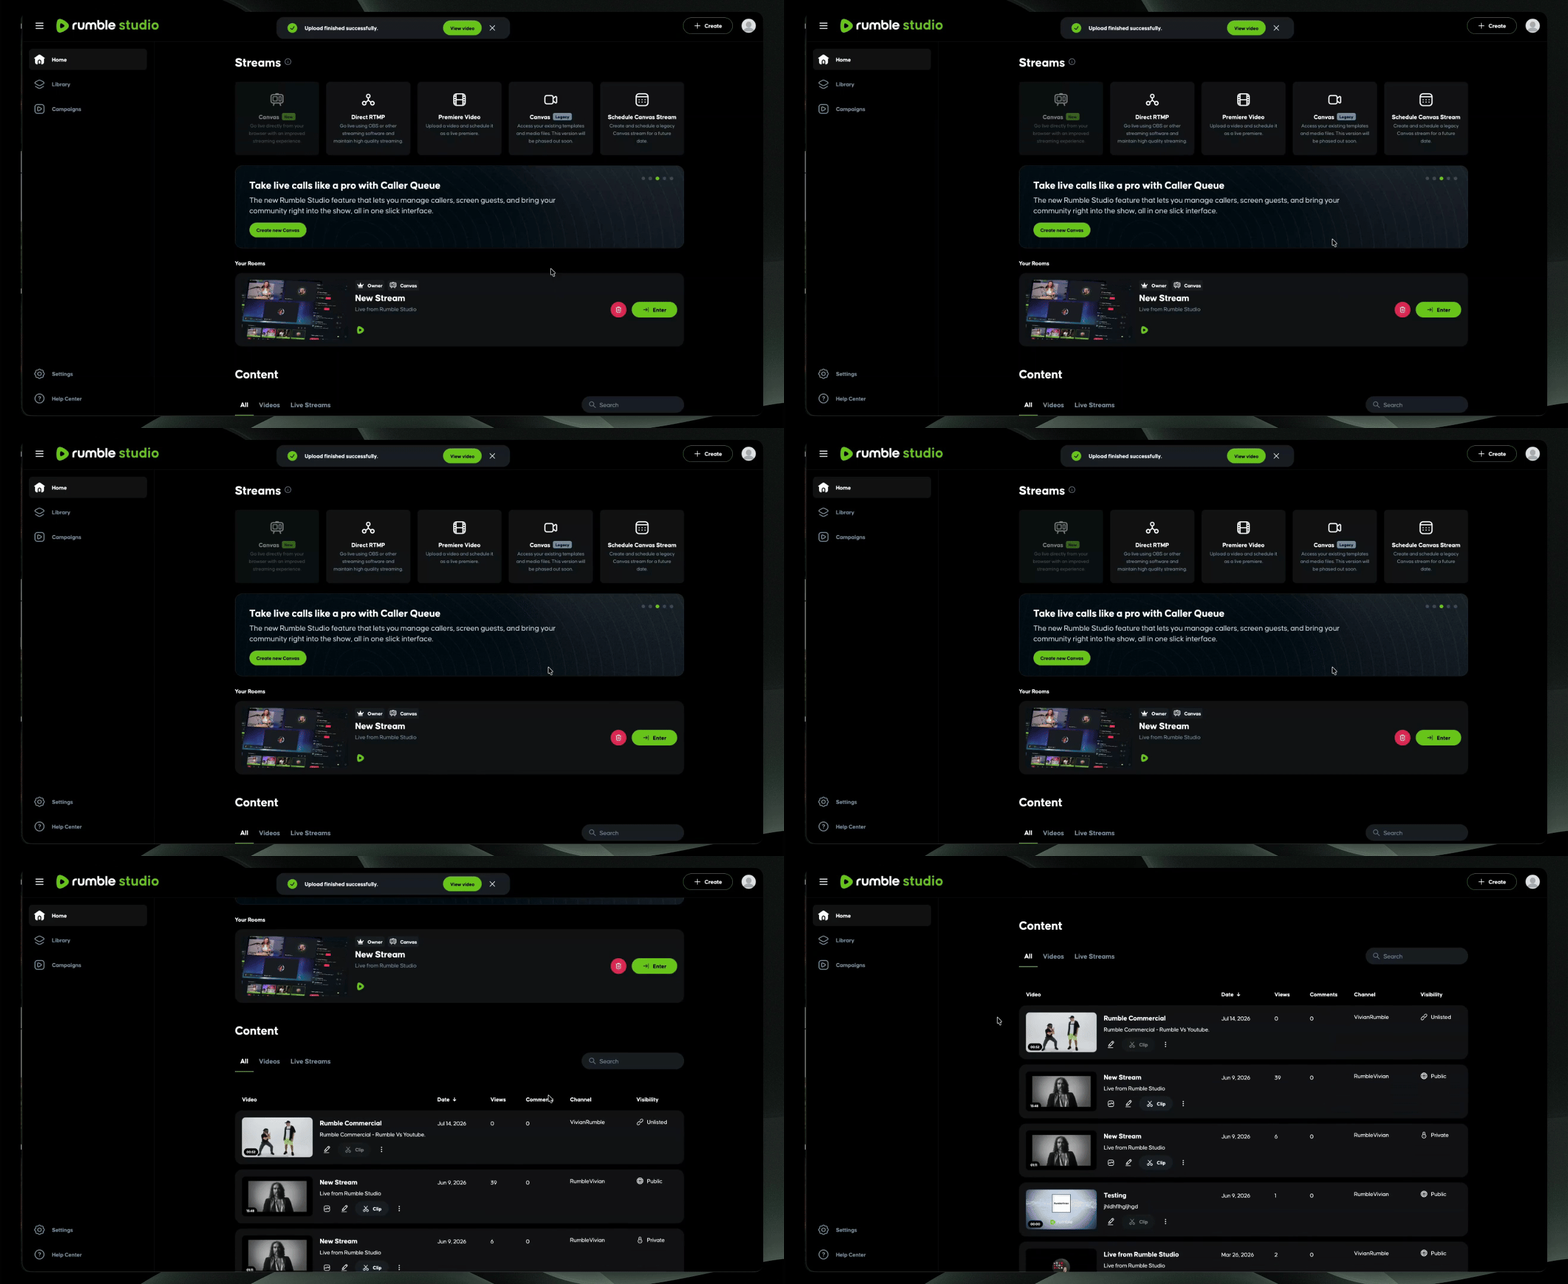
Once uploaded, your video will appear in the Content tab at the bottom of your homepage.
Step 5: Filter and Edit Content
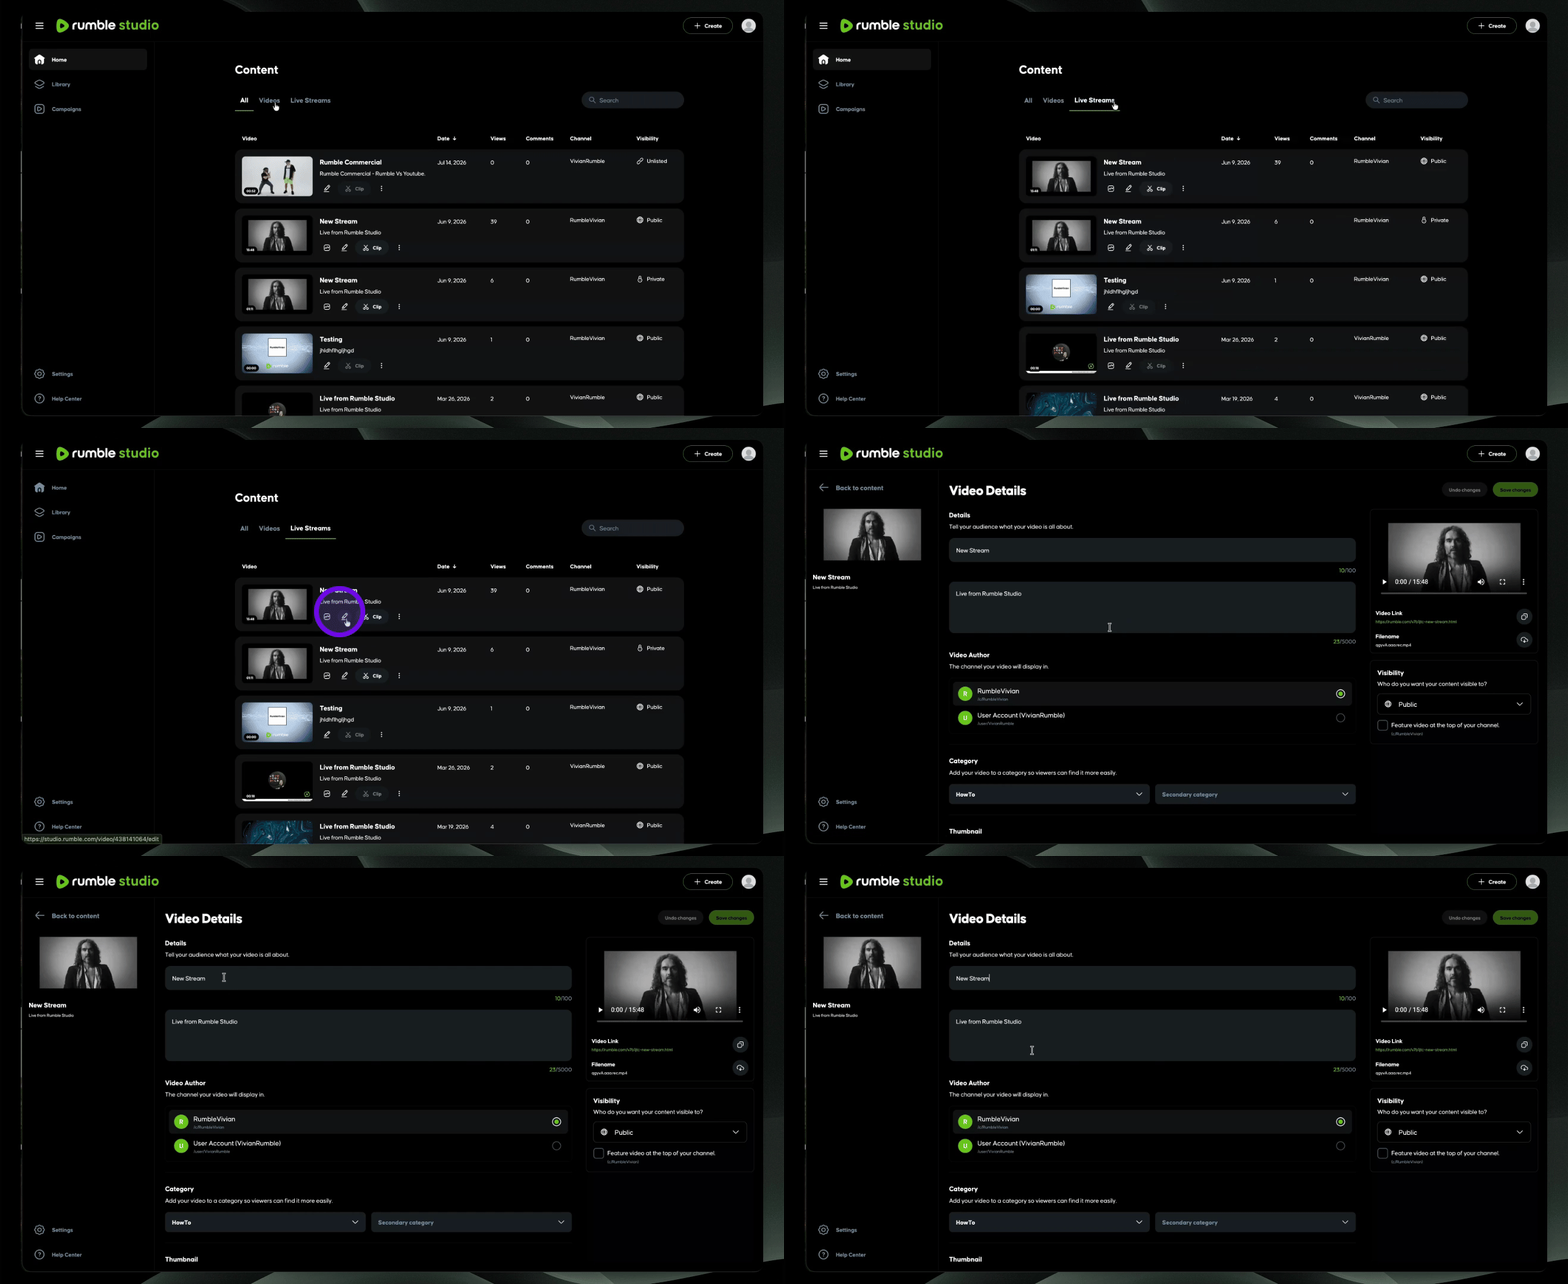
In Rumble Studio, toggle between all content, videos, or live streams. To edit a video, select the pencil icon.
Step 6: Update Video Information
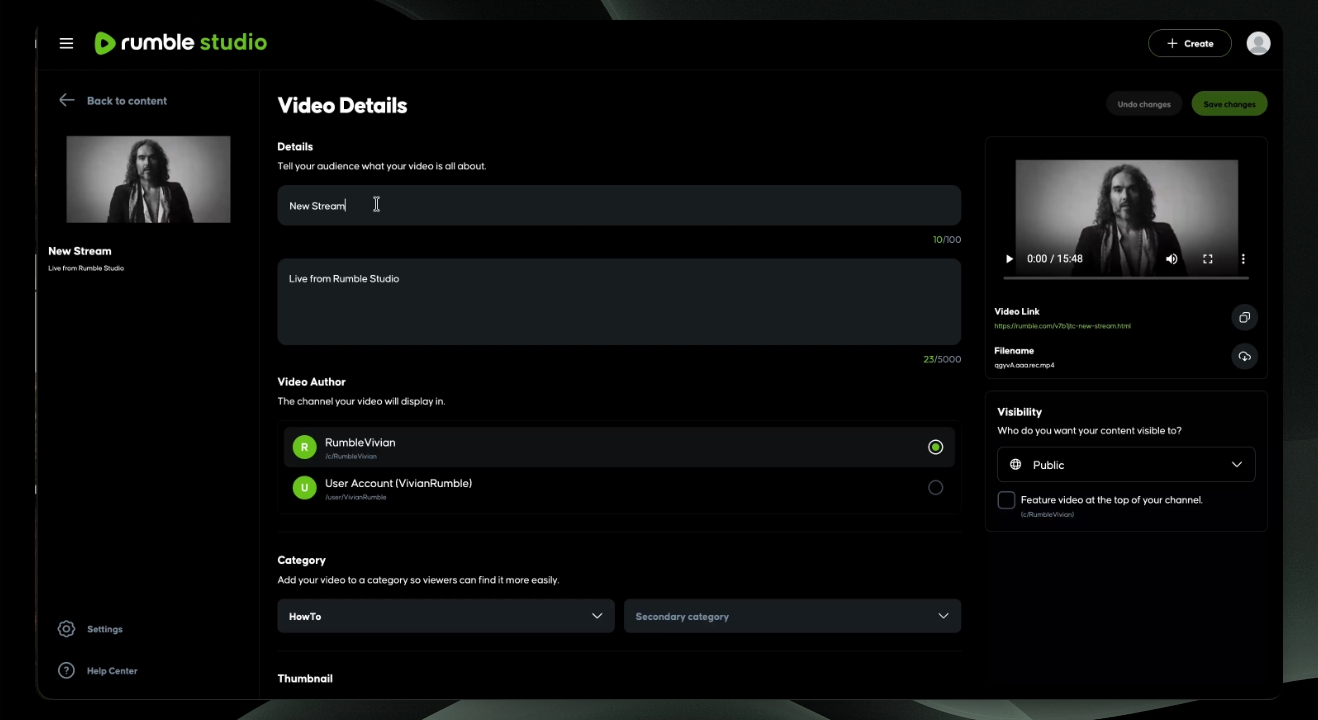
The pencil icon lets you change the title, description, destination or channel, visibility, category, thumbnail, and tags for your video.
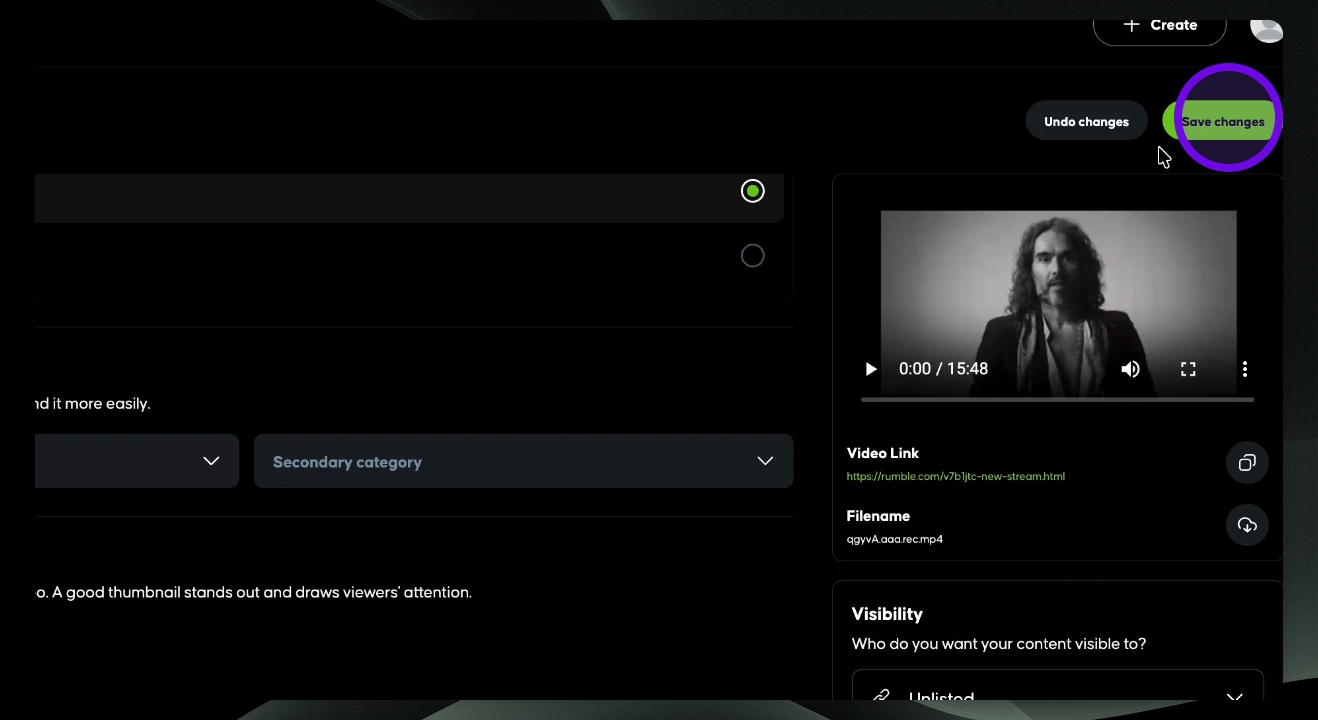
Step 7: Save Changes
After editing, you can save your changes or undo them as needed.