Creating your first Clip
Step 1: Access Clipping Tool
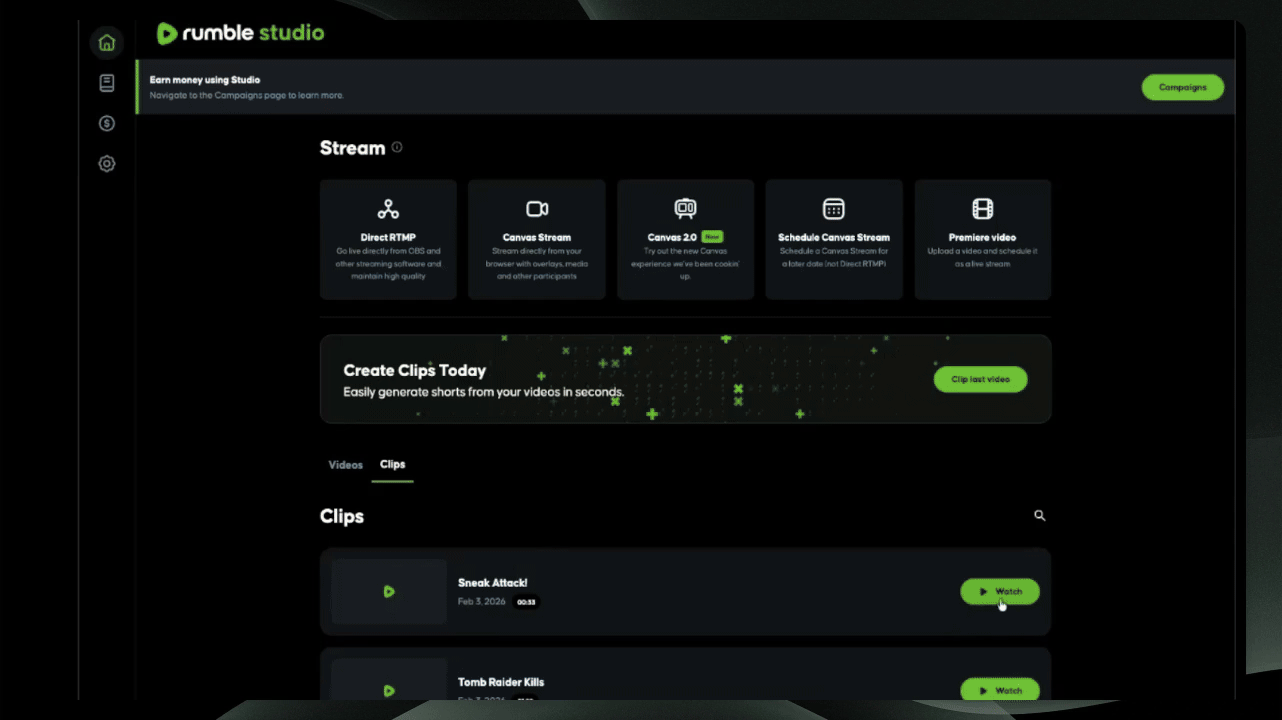
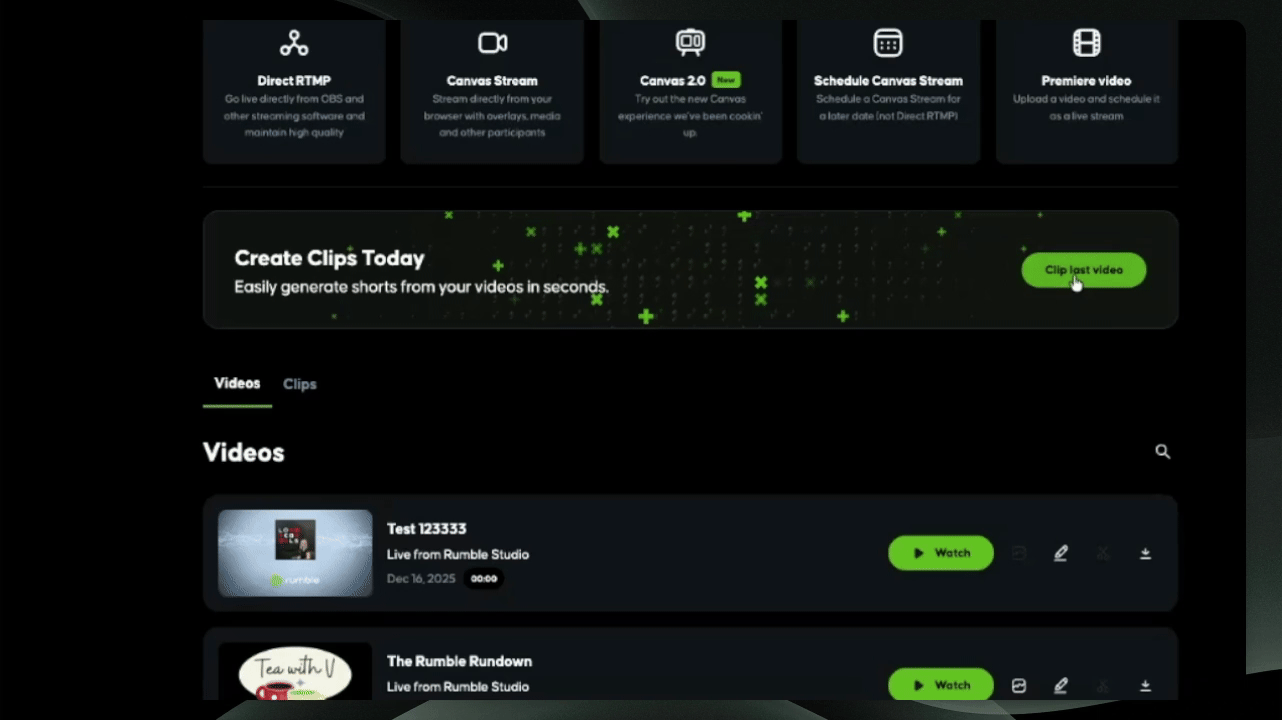
Select the pop-up banner at the top of Rumble Studio or find your last live stream and click the scissor icon to access the Clipping tool.
Step 2: Select Time
In the Clipping tool, drag across the bottom timeline to select the time you want to clip, or manually enter the start and end times.
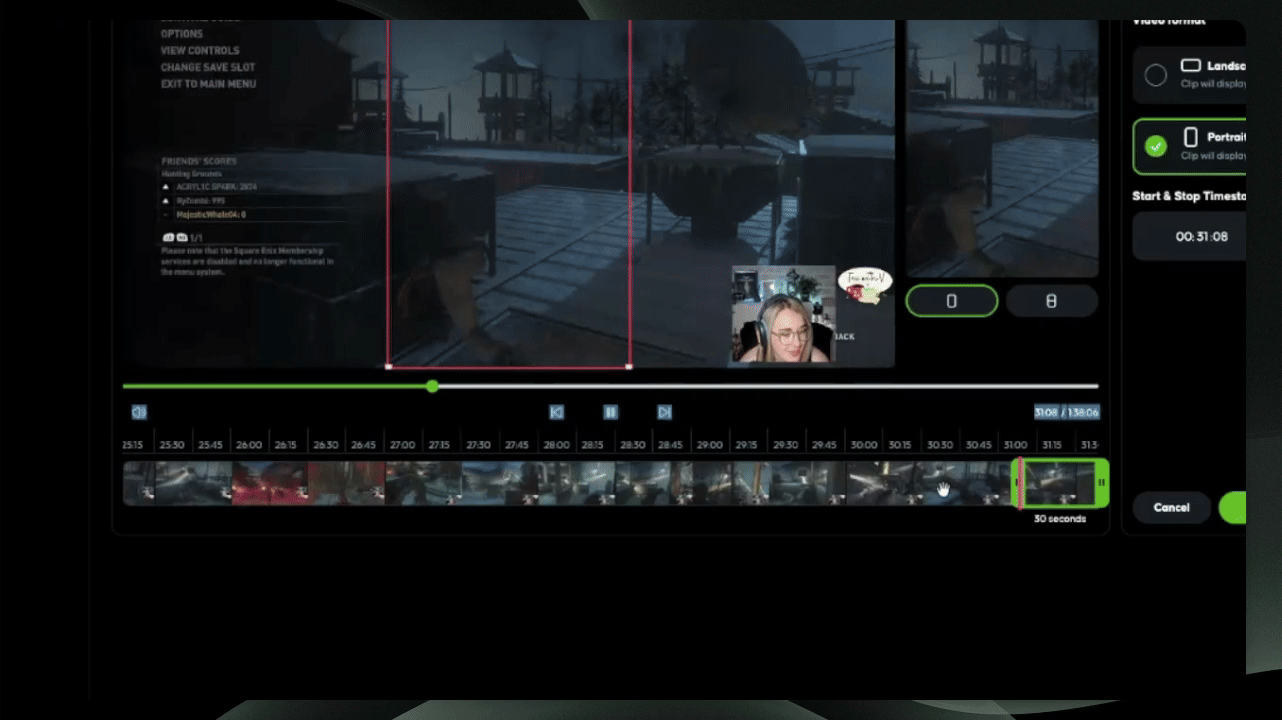
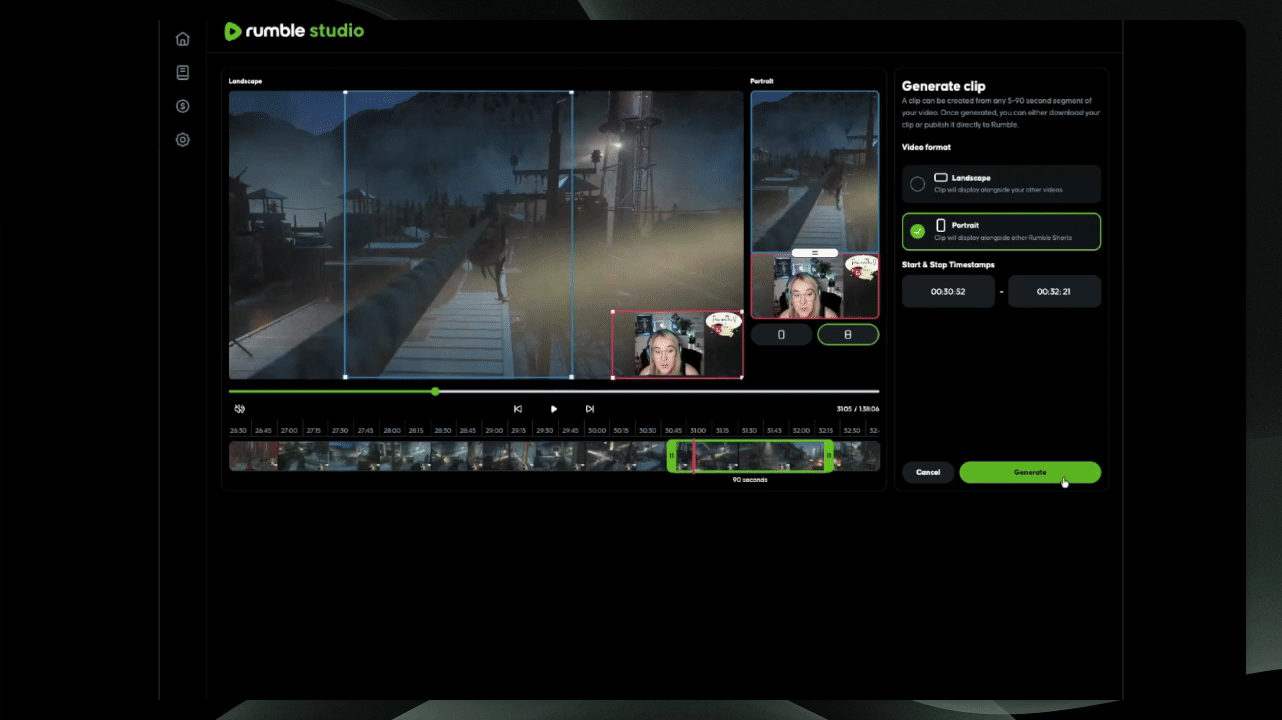
Step 3: Adjust Clip Duration
Ensure your clip does not exceed 180 seconds by dragging the timeline bar.
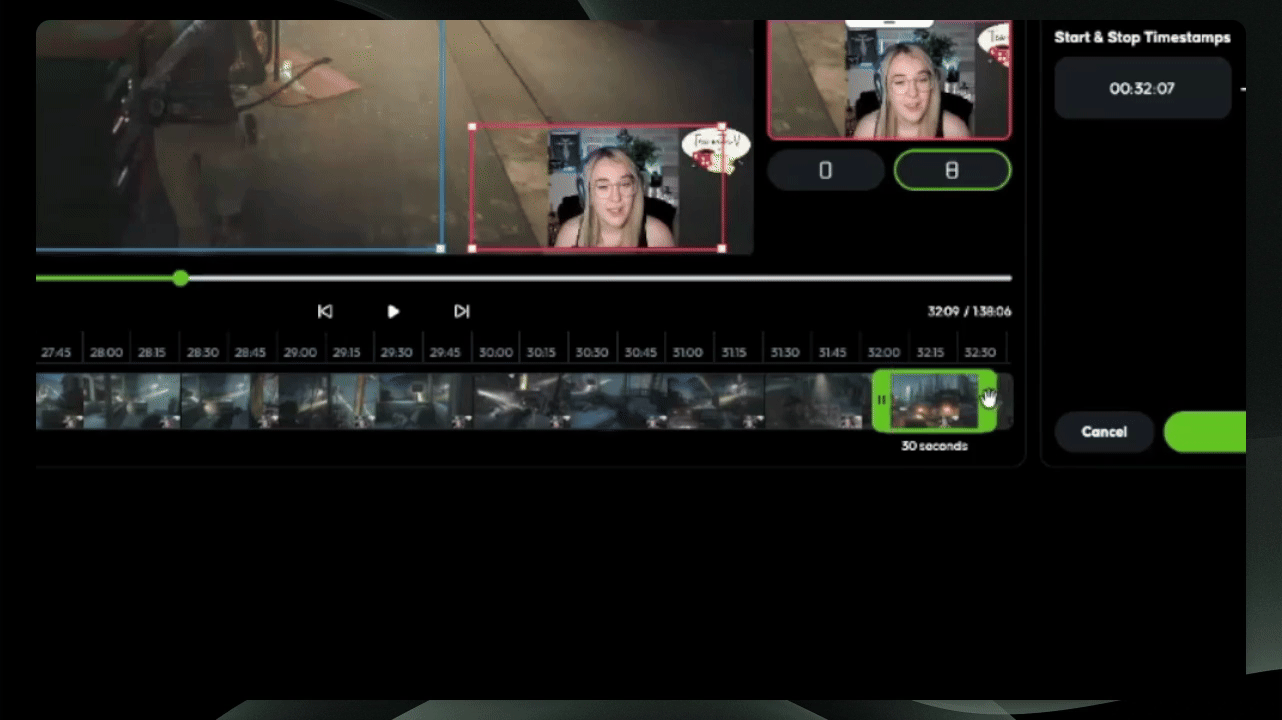
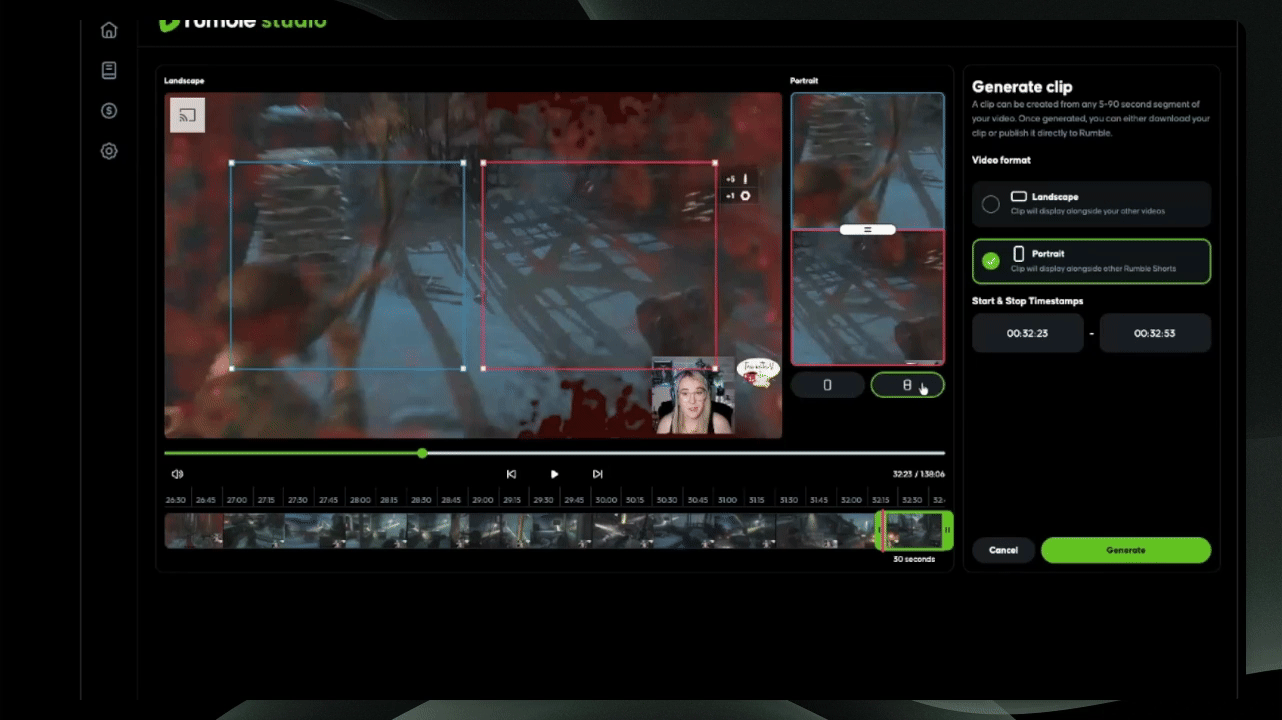
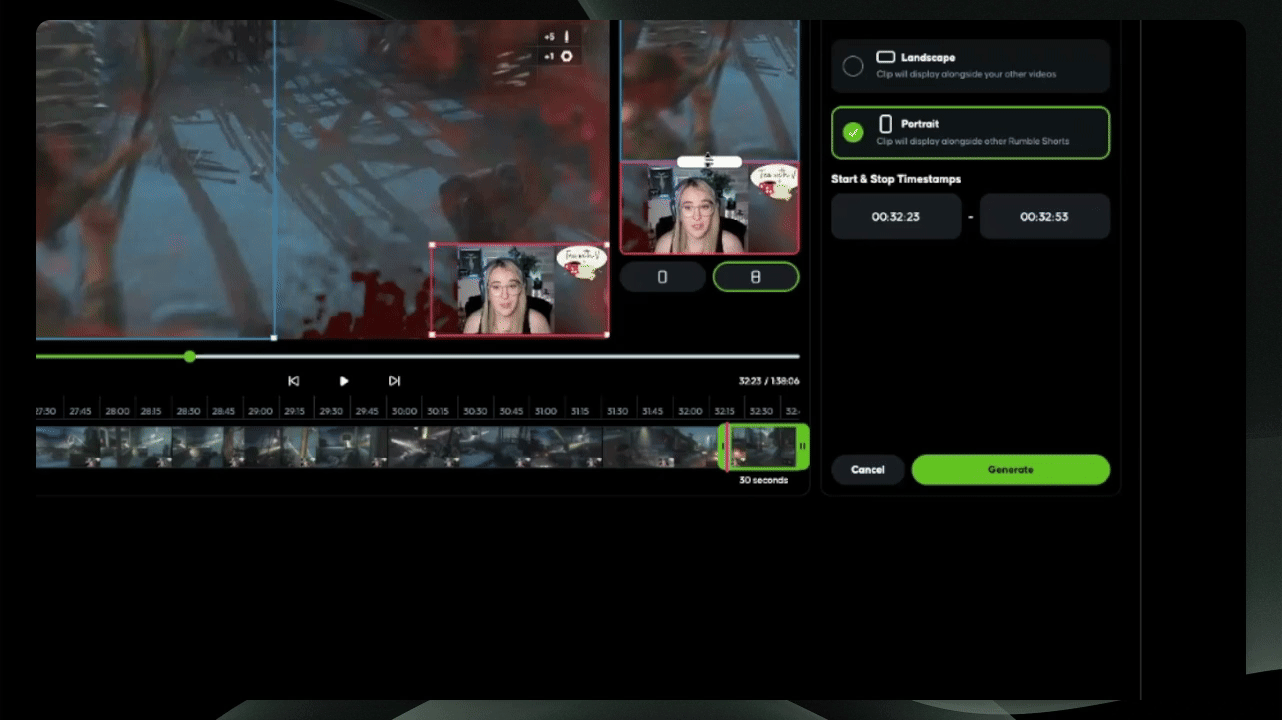
Step 4: Choose Orientation
Select between Landscape and Portrait mode. In Portrait mode, you can opt for a split screen.
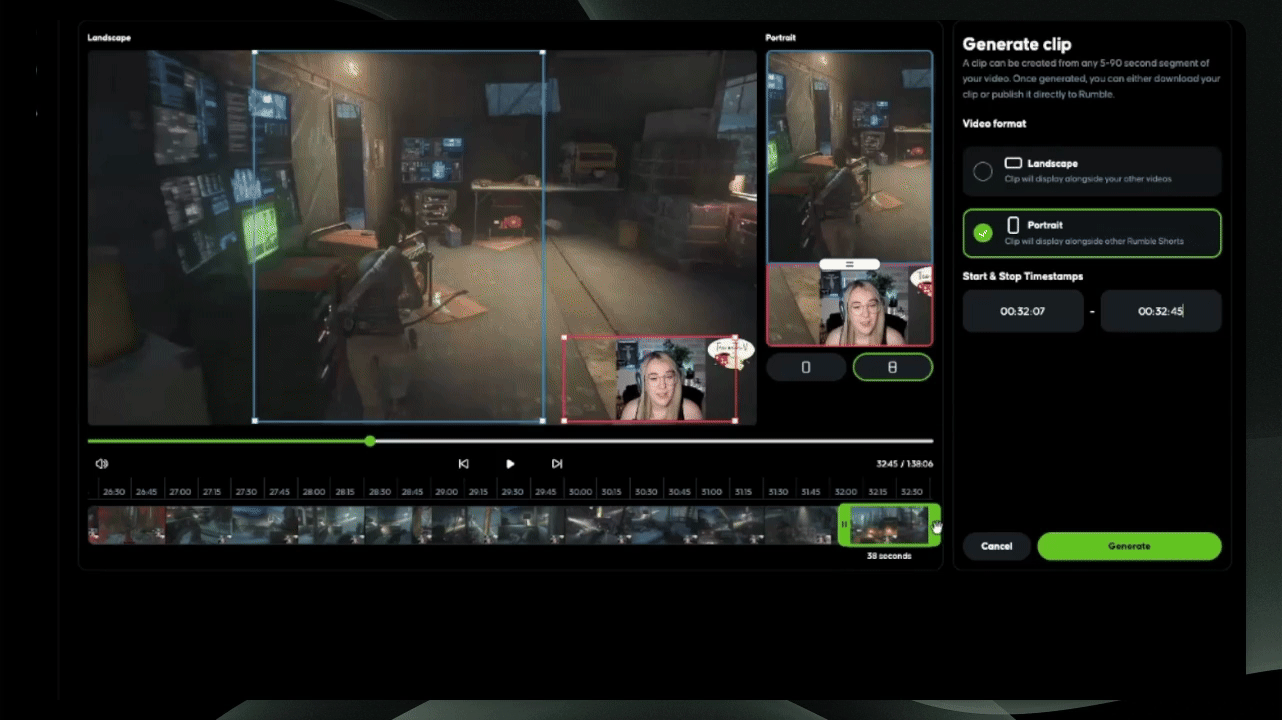
Step 5: Set Display Area
Use the red and blue squares to dictate what to display on the top and bottom halves of your screen.
Step 6: Generate Clip
When satisfied with your selections, generate your clip.
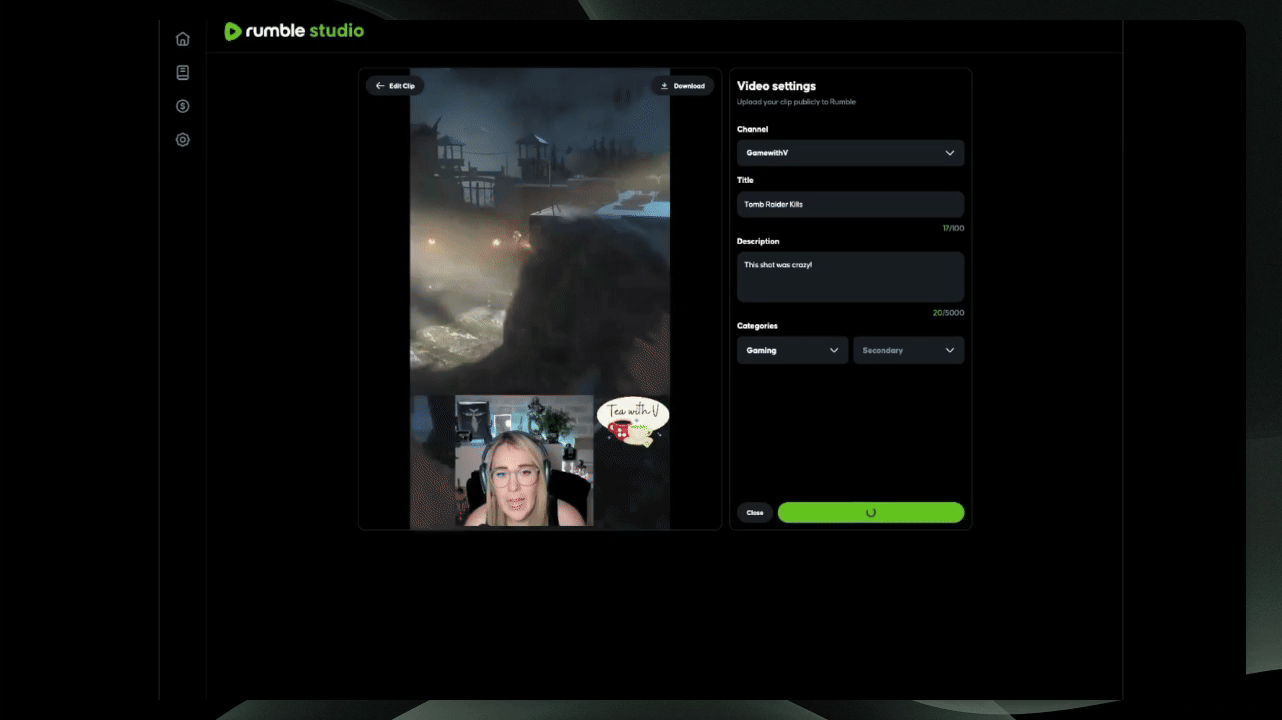
Step 7: Fill Out Details
On the next page, choose the channel for posting, title your short, provide a description, and select a category. You can download your short for other platforms or select Edit to make further changes.
Step 8: Publish Clip
When you are happy with your clip, click Publish to finalize it.
Step 9: Check Your Channel
Return to your channel to see your uploaded short under the Shorts tab.