Recent Updates:
Add Admins and Moderators in Rumble Studio
You can now add admins and moderators, making it easier to manage your studio with additional team support. This update gives you more flexibility when coordinating livestream production and moderation within the new Canvas experience.
Learn more about admins and moderators:
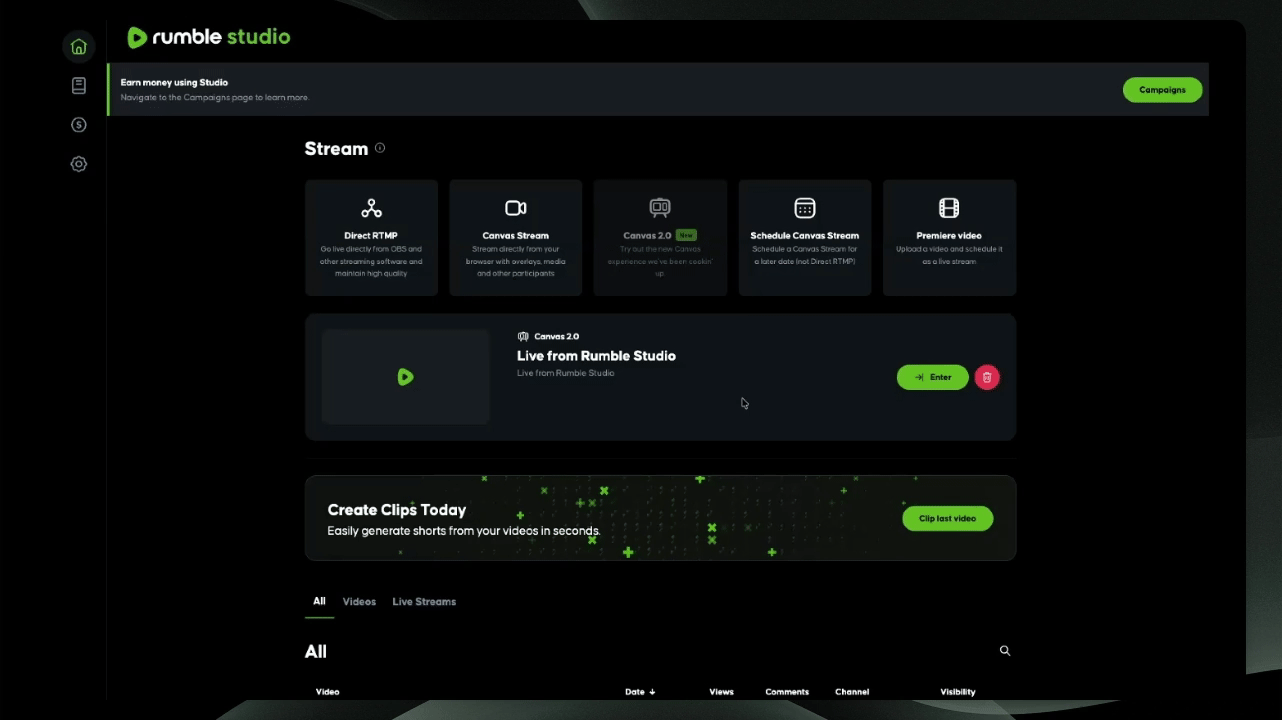
Start Streaming
Step 1: Select Canvas Room
Go to studio.rumble.com and select the new Canvas live streaming room.
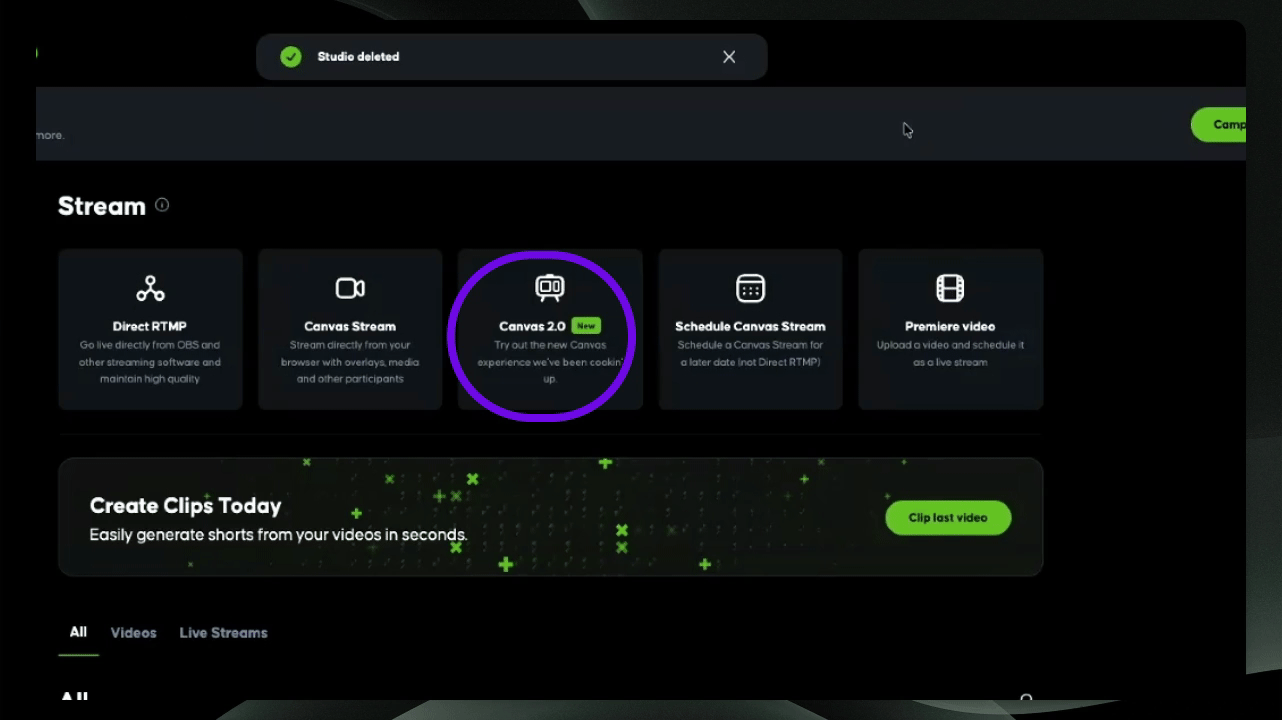
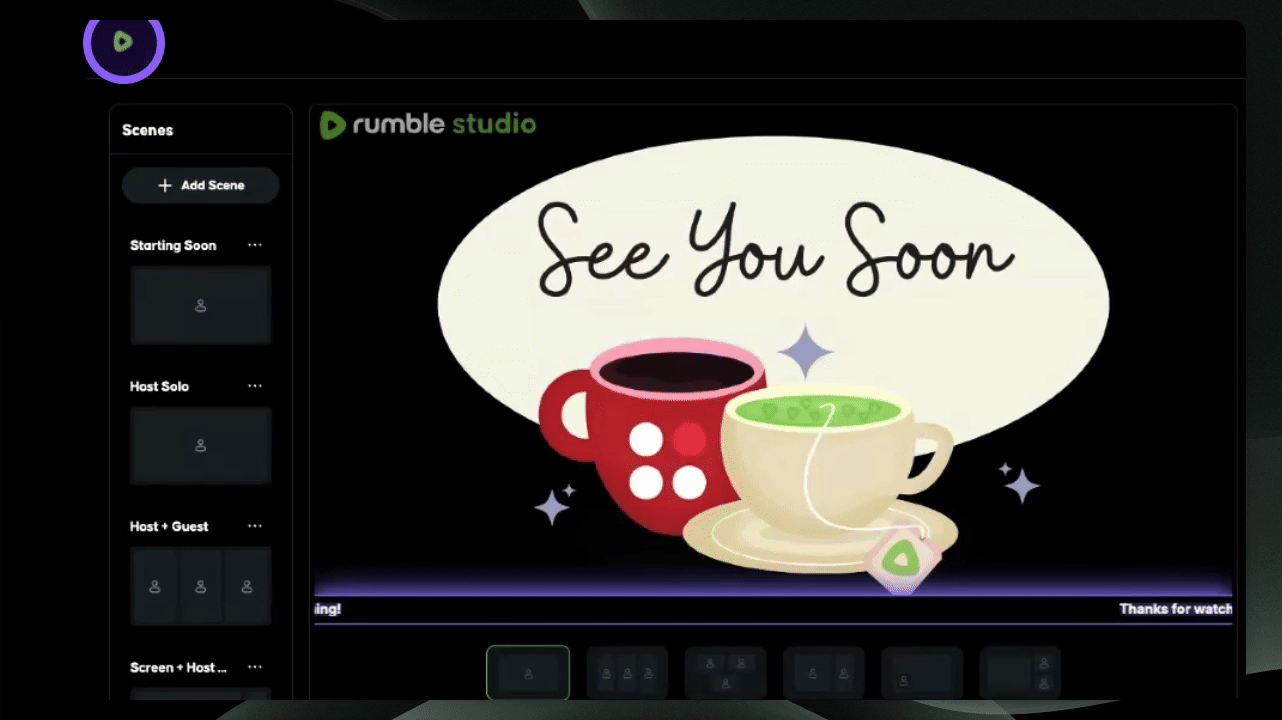
Once you're in the room, you will notice new improvements, including the addition of scenes that allow for dynamic content switching during your stream.
Step 2: Add a New Scene
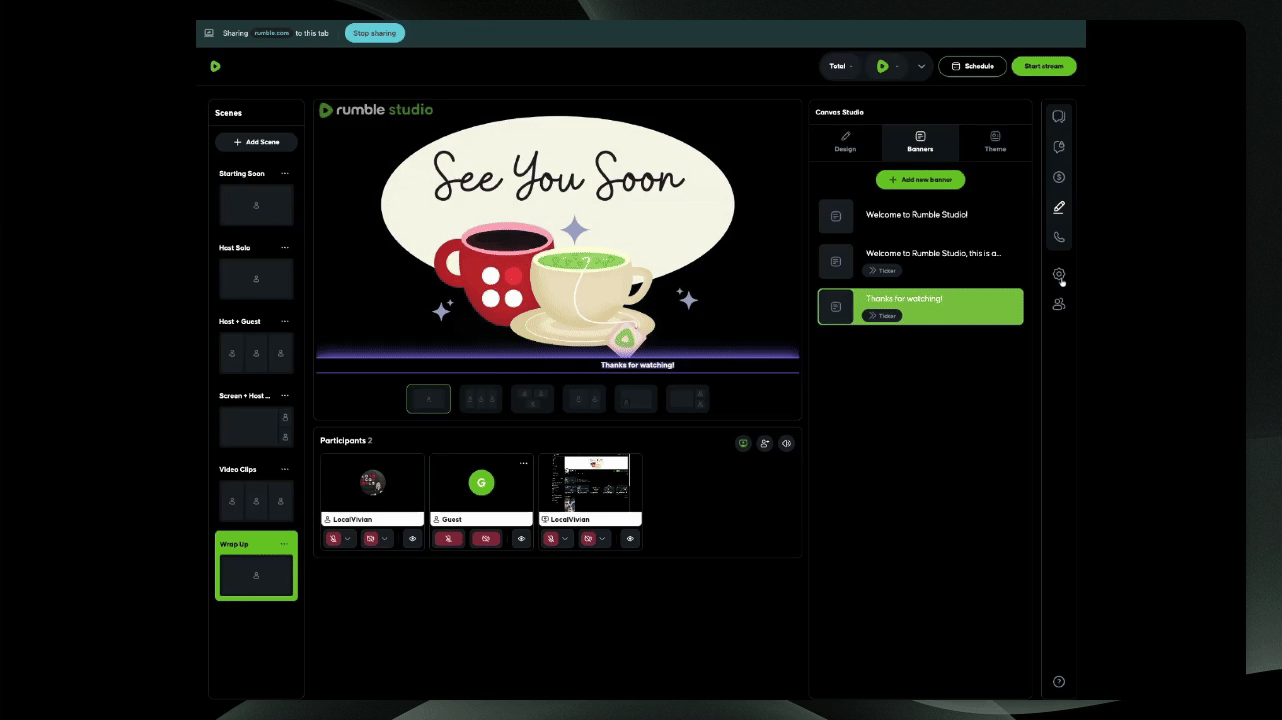
Add a new scene by clicking "+ Add Scene."
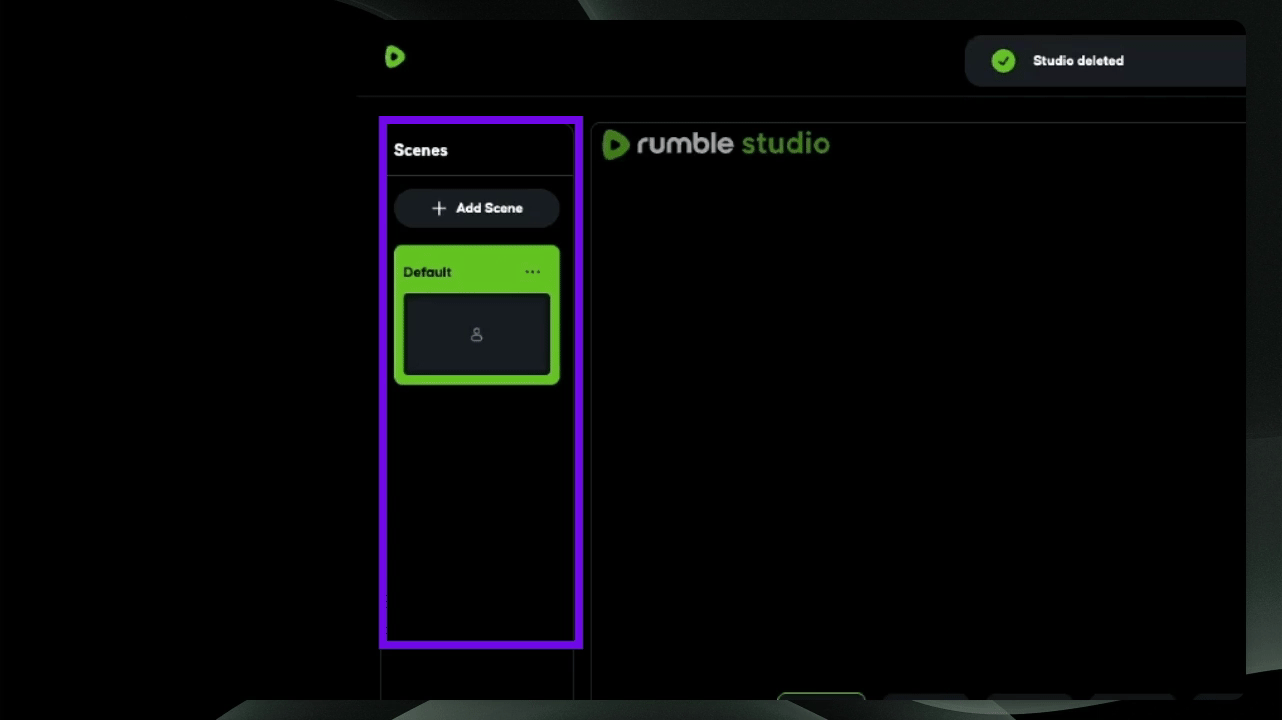
Scenes allow you to create and save different layouts within the same Canvas stream room.
Each scene represents a specific on-screen setup. For example, you might create a scene for:
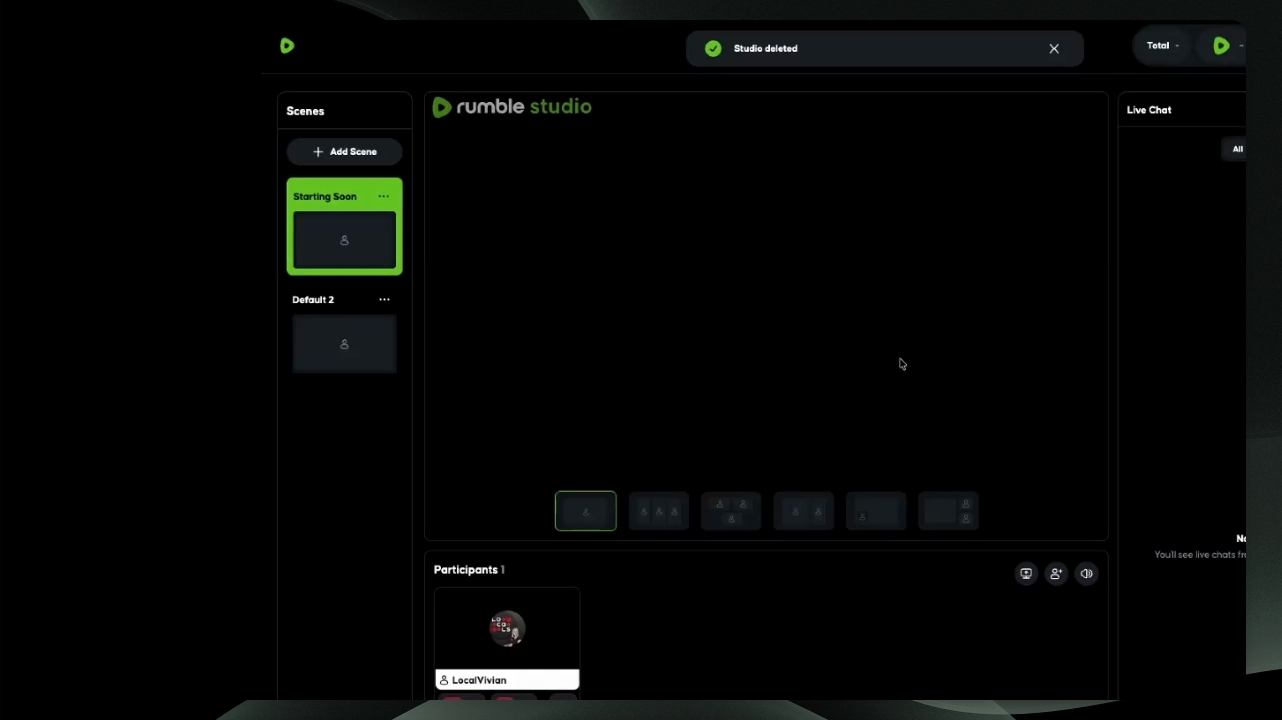
Starting Soon
Camera Only
Screen Share
Interview Layout
Scenes make it easy to switch between these layouts during a livestream without interrupting your broadcast.
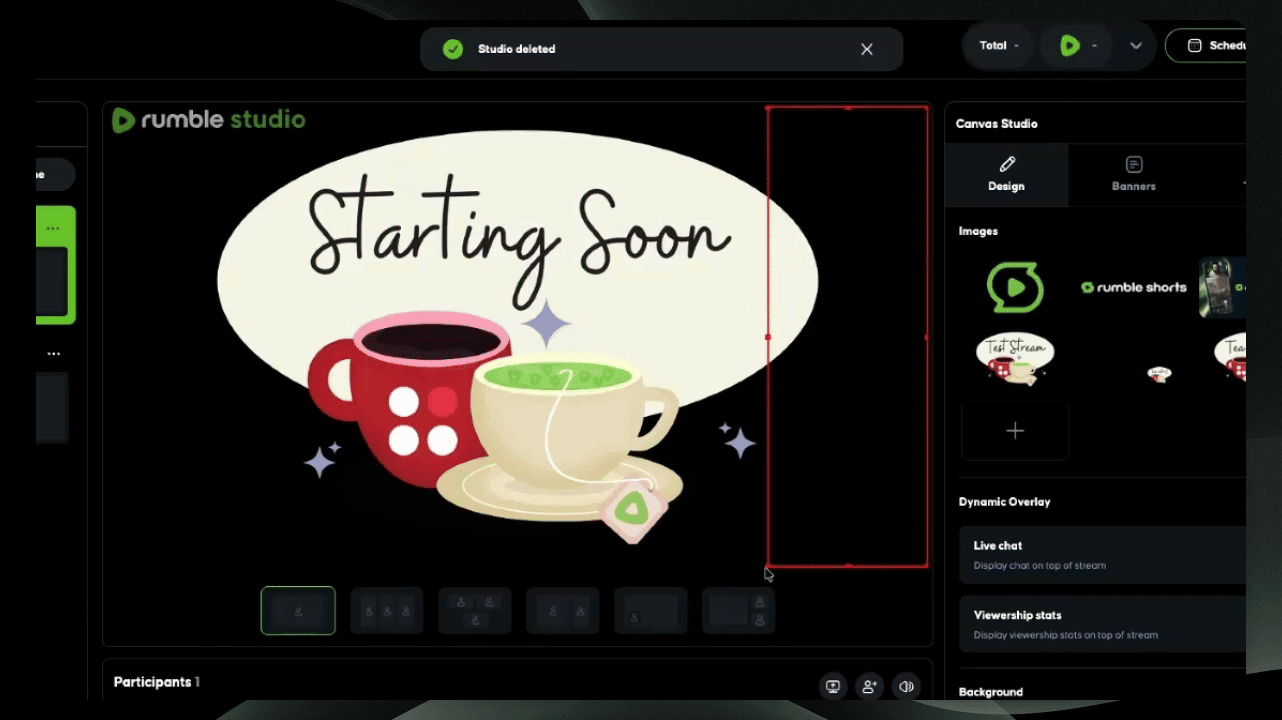
Rename Scene
Rename your first scene so you can easily identify it later. In this example, we named it “Starting Soon” since it will be the first scene shown when the livestream begins.
Each scene saves its own design and layout.
That means:
Elements added to one scene will not appear in another.
Positioning and resizing are saved per scene.
Layout changes remain tied to the specific scene where they were made.
For example:
If your “Starting Soon” scene includes a background image and countdown timer, those elements will not appear in your “Interview” scene unless you add them there as well.
This allows you to build fully customized layouts for different moments in your stream.
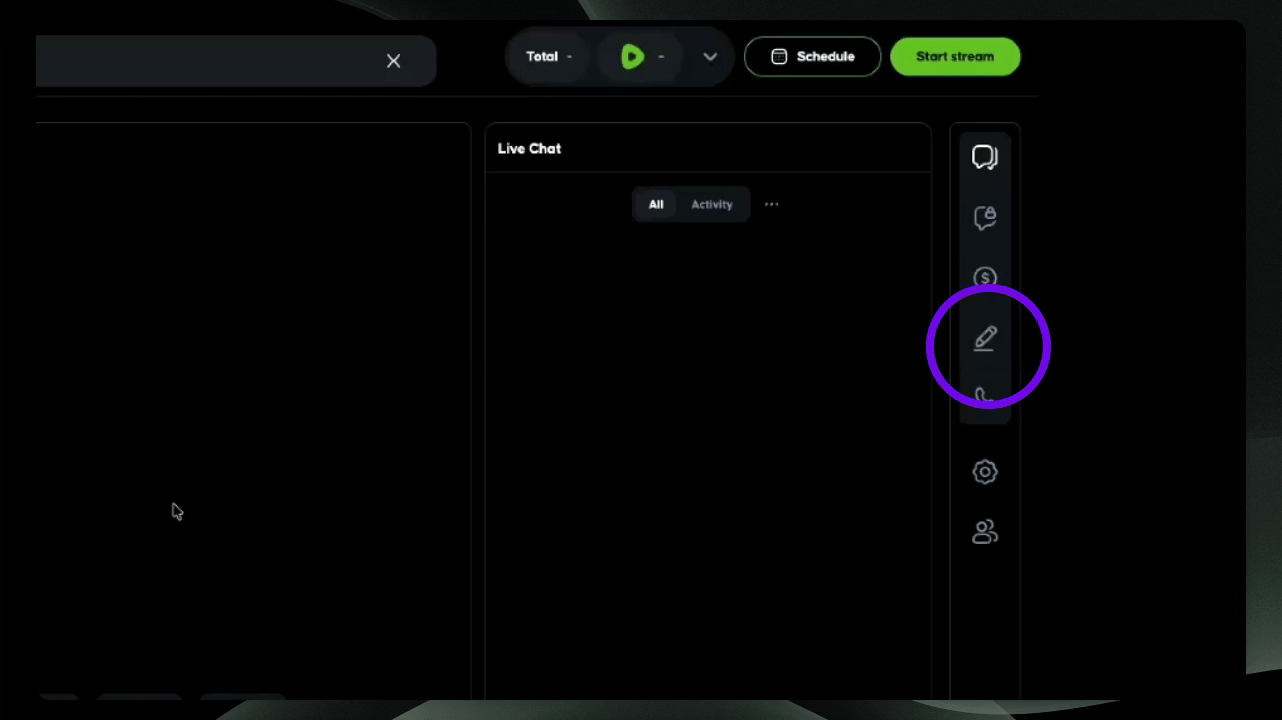
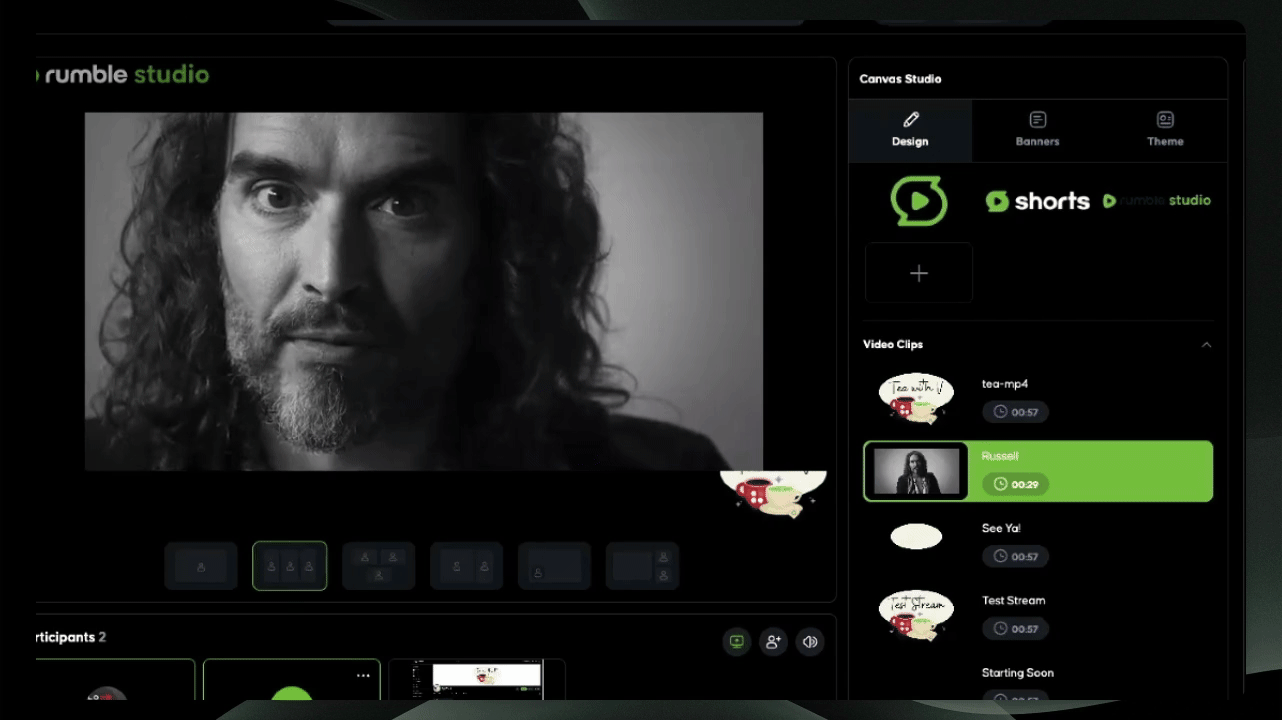
Step 3: Access Library
Navigate to the right-hand side to access your library and design elements.
Add Design Elements to a Scene
Each scene can include its own design elements.
You can add:
Images
Backgrounds
Overlays
Video clips
Audio clips
Dynamic overlays (live chat and viewership stats)
All elements added will be saved to that specific scene.
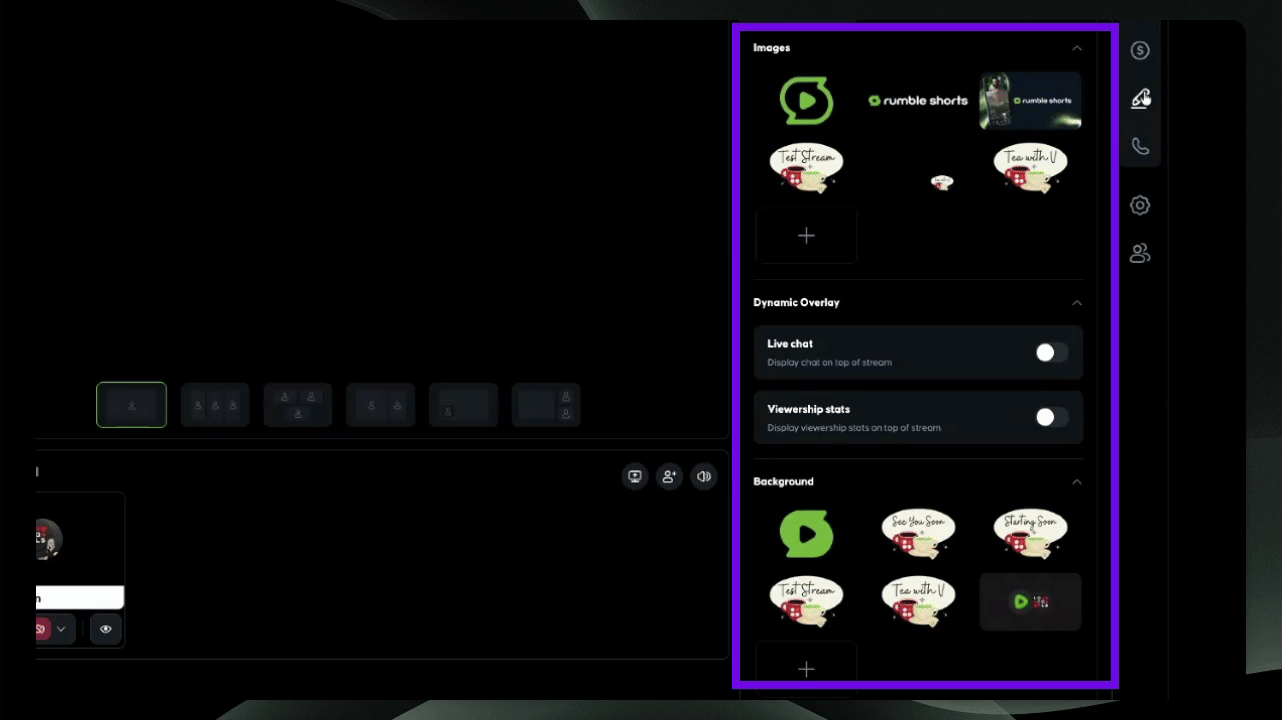
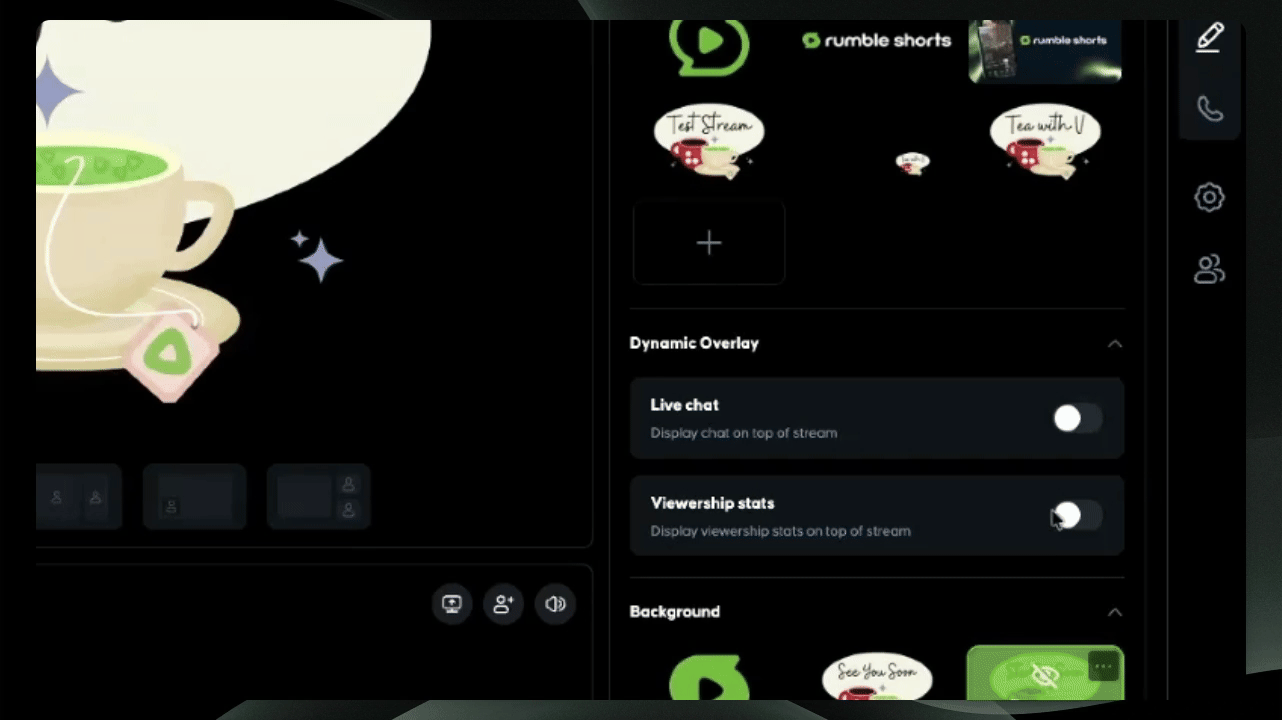
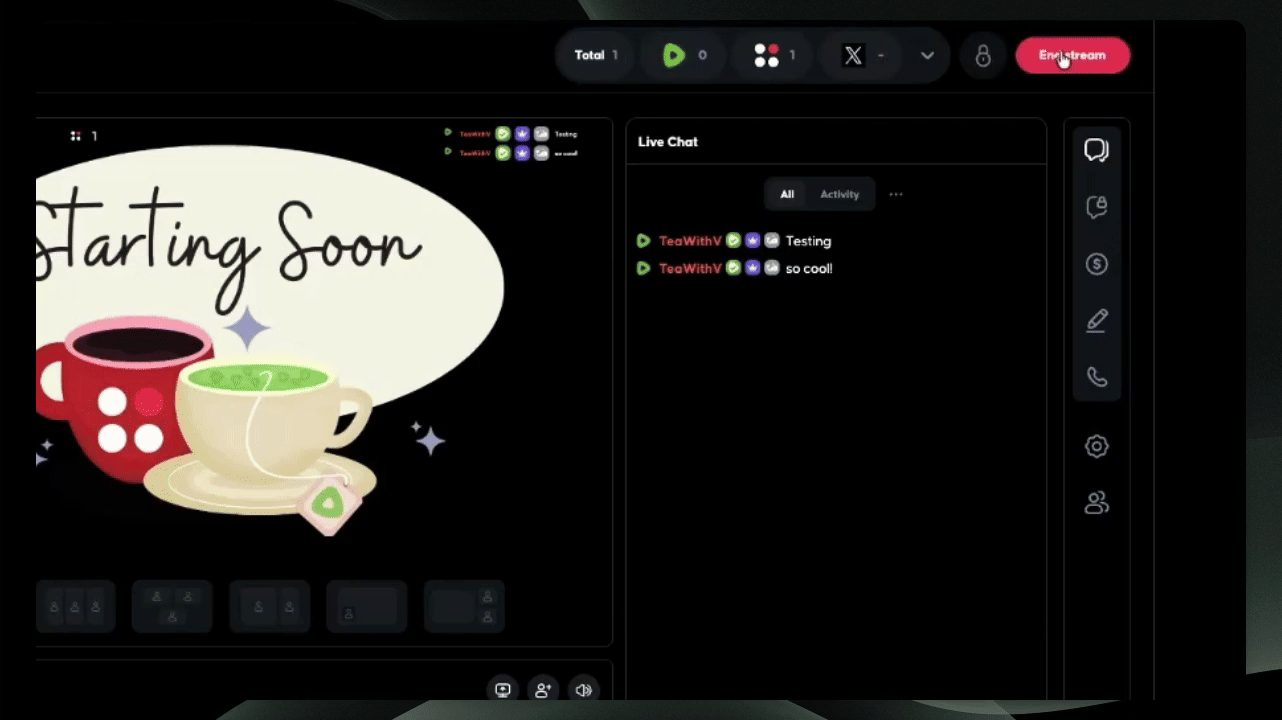
Enable and Adjust Live Chat and Viewership Stat Overlays
You can now enable and resize Live Chat and Viewership Stats as dynamic overlays within Canvas.
Select the blue rectangle and drag it to your preferred location for the live stream chat.
Previously, these overlays appeared in a fixed position on screen. With the new Studio improvements, you can now:
Drag them anywhere on your canvas
Resize them
Adjust their placement to fit your layout
Both Live Chat and Viewership Stats can be positioned exactly where you want them, giving you full control over your on-screen setup.
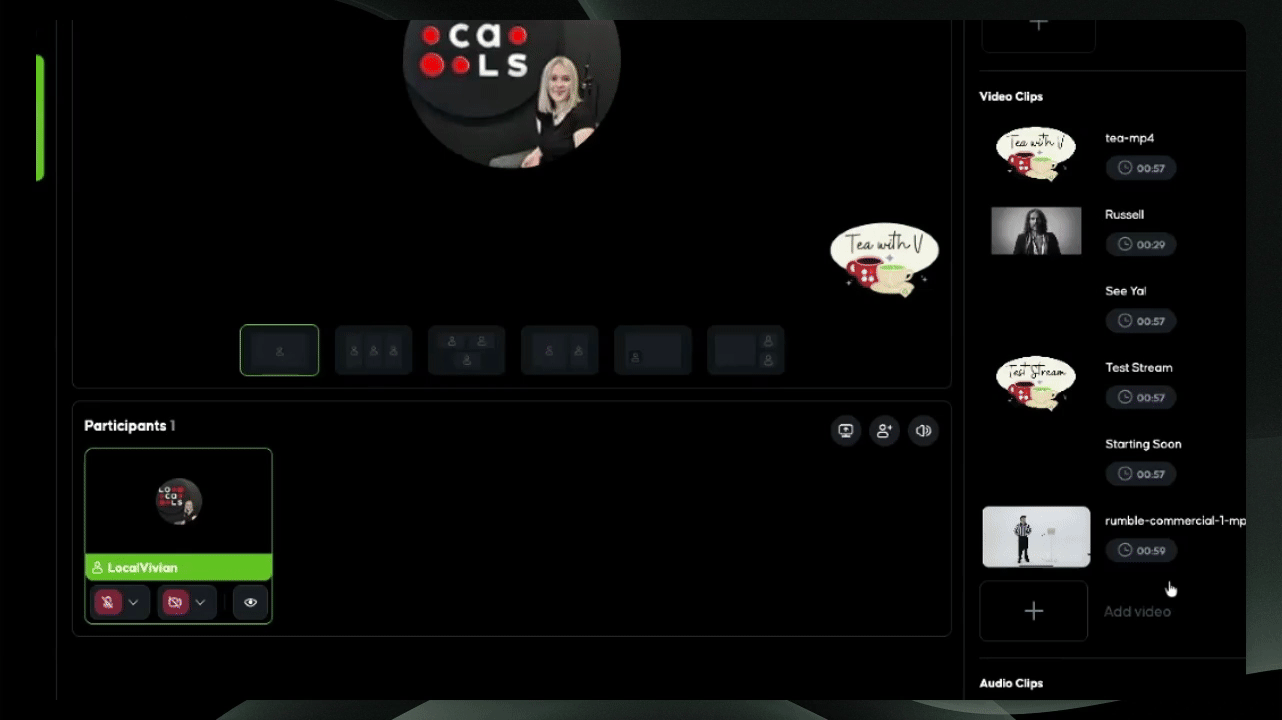
Video Clips
You can add video clips to a scene, including animated graphics.
For example, if you create an animated intro video for your “Starting Soon” scene, it will automatically play whenever you switch to that scene. Video elements can be set to loop if desired.
Remove the video if you do not want it to play continuously.
Audio Clips
You can add audio to a scene, such as background music.
If you attach music to a scene, it will automatically begin playing when that scene is selected. This is useful for intro screens or intermissions.
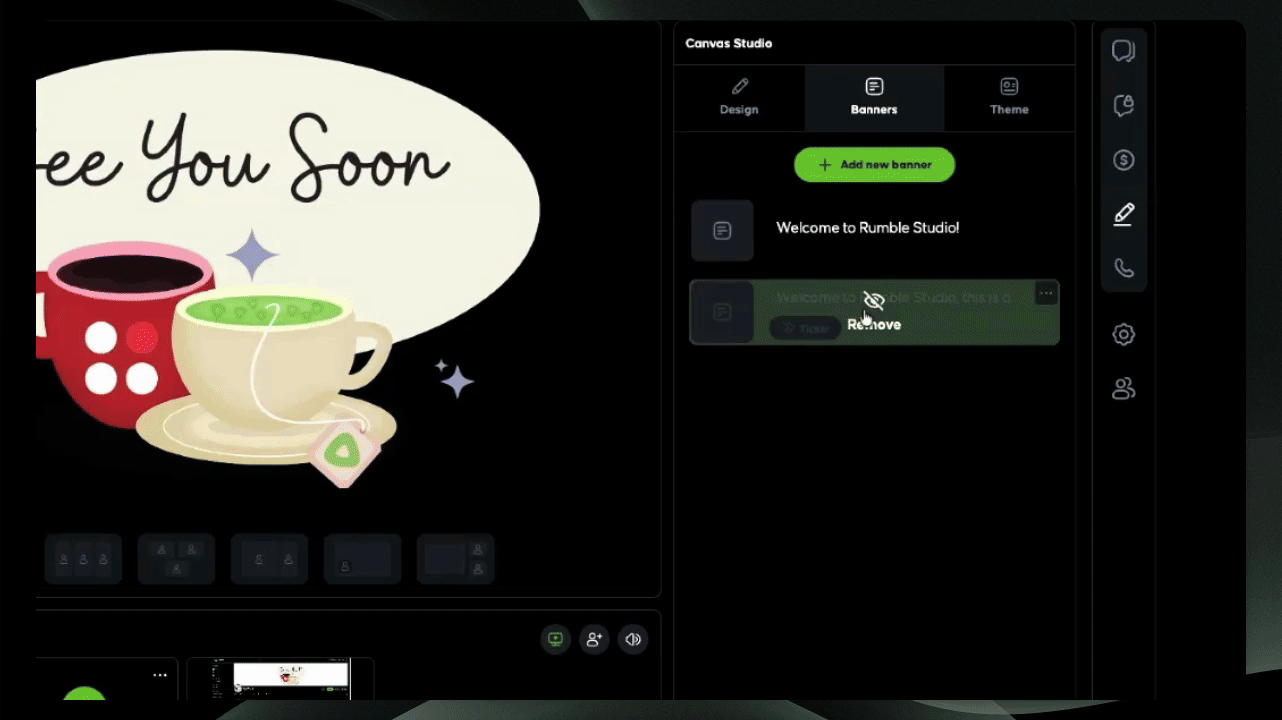
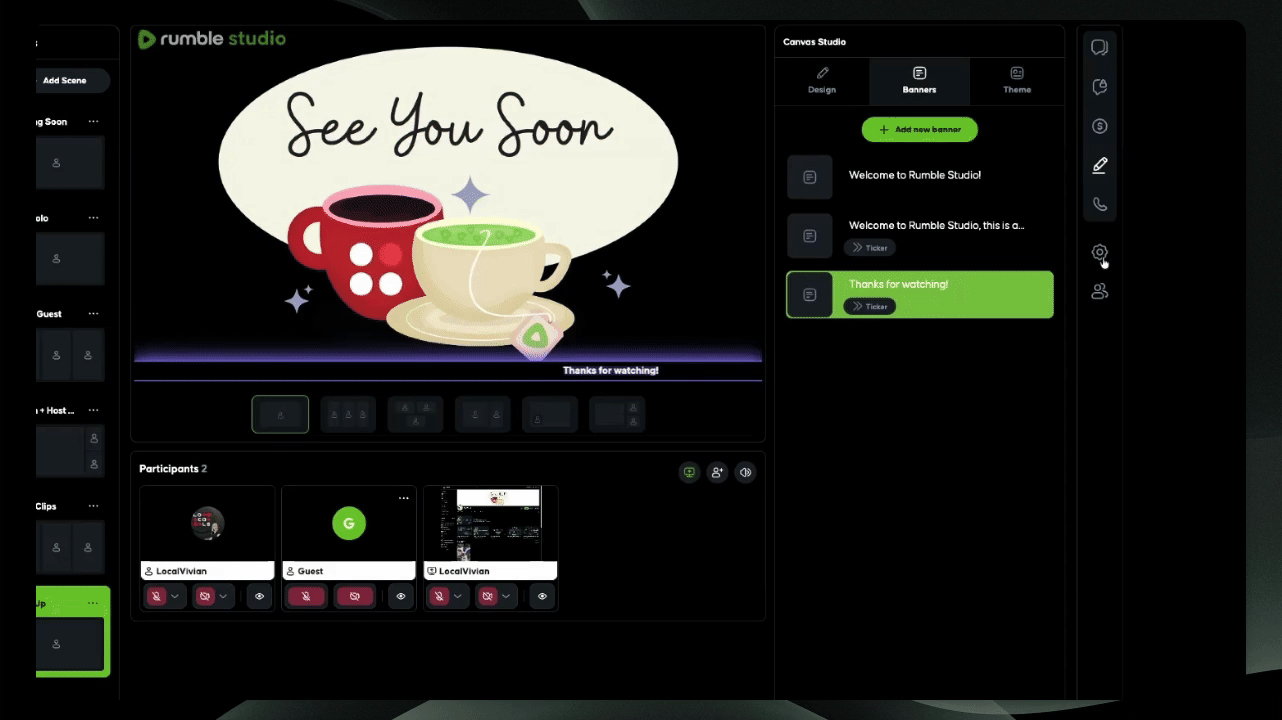
Manage Banner and Theme Preferences
Add a Banner
A banner displays text on your stream, typically at the top or bottom of the screen.
Banners can be:
Static text
Scrolling ticker text
You can use banners for announcements, sponsor messages, or calls to action.
Customize Your Theme
Themes control the overall visual style of your stream.
Under Theme settings, you can adjust colors and fonts. These selections automatically apply to your banners and remain consistent across all scenes.
Scenes control layout.
Themes control branding.
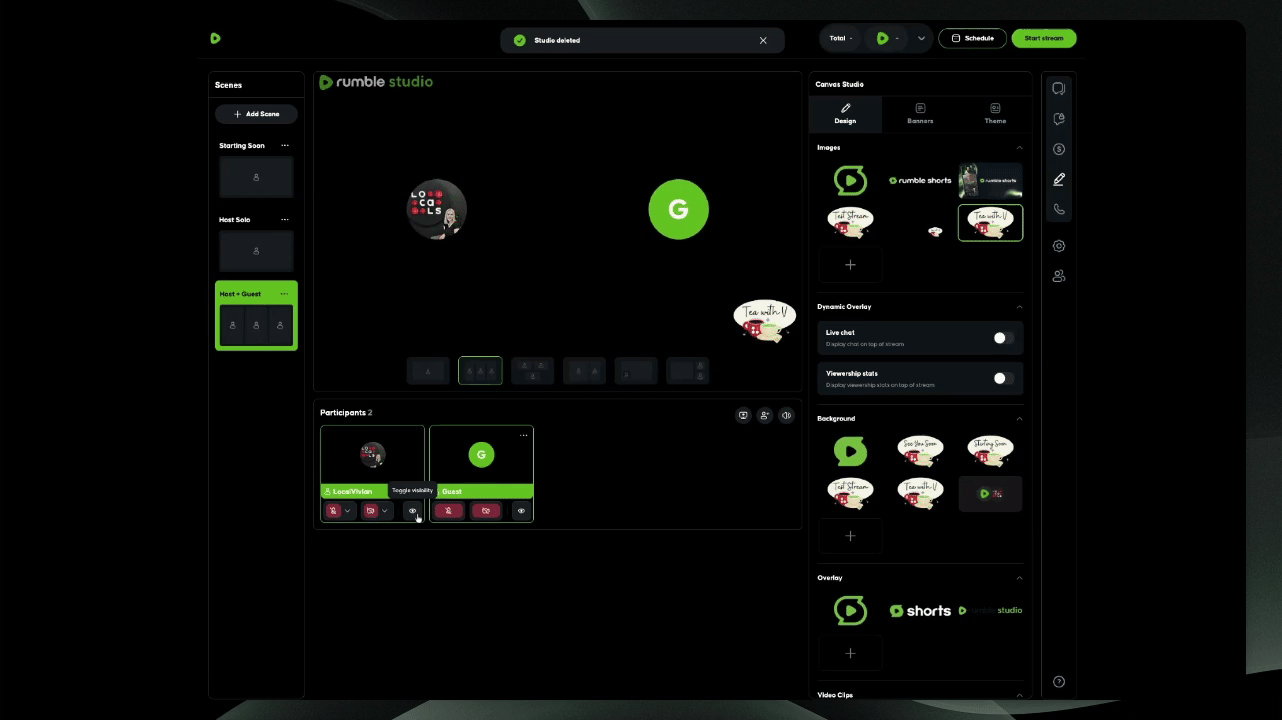
Step 4: Add Guest Scene
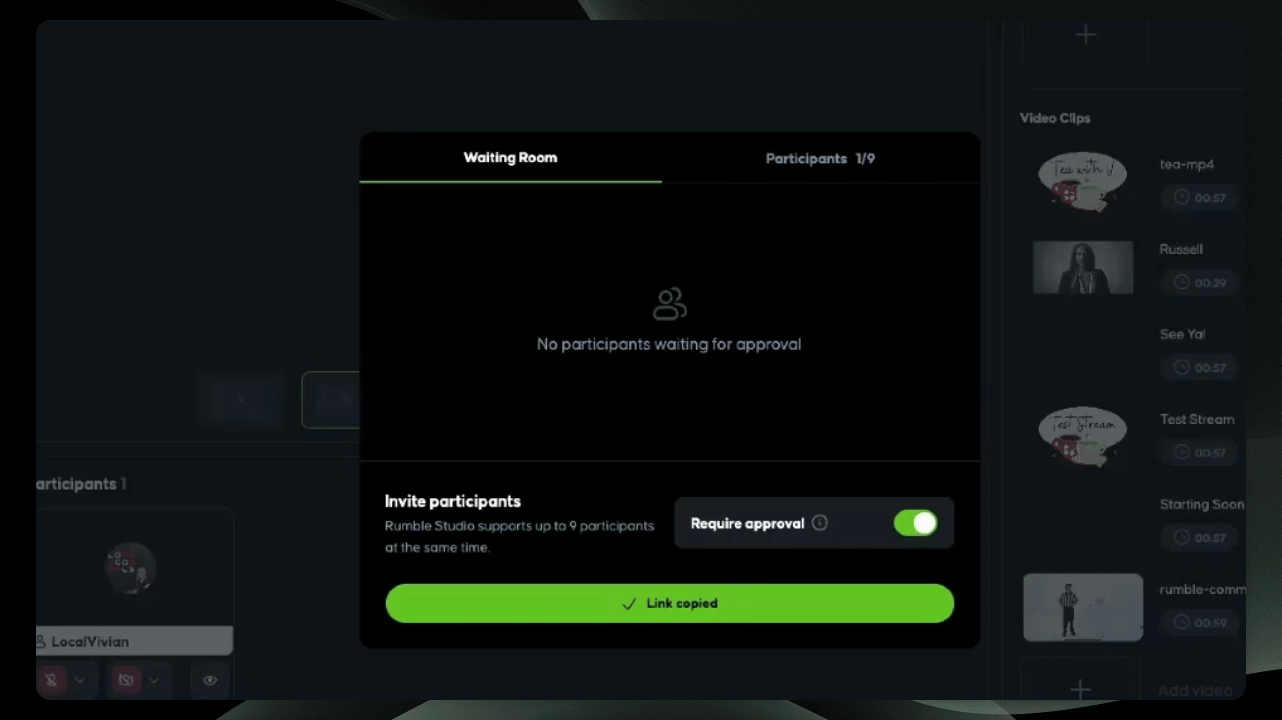
Add a new scene for guests by selecting Invite Participant. Copy the link and send it to your guests so they can join the stream.
In the waiting room, accept or reject guests as they join.
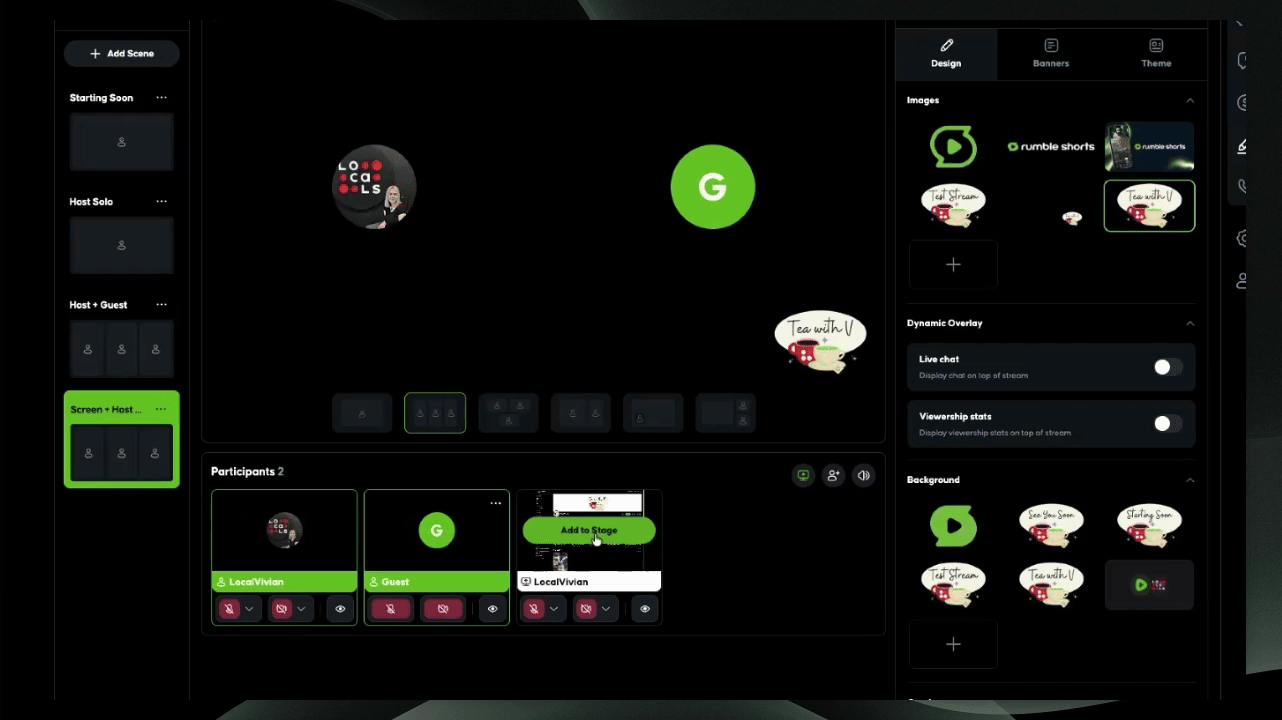
Add Guest to the screen
Hover over your guest and select “Add to Stage” to bring them onto the canvas.
Once they’re on stage, choose a different dynamic layout so both the host and guest appear on screen together.

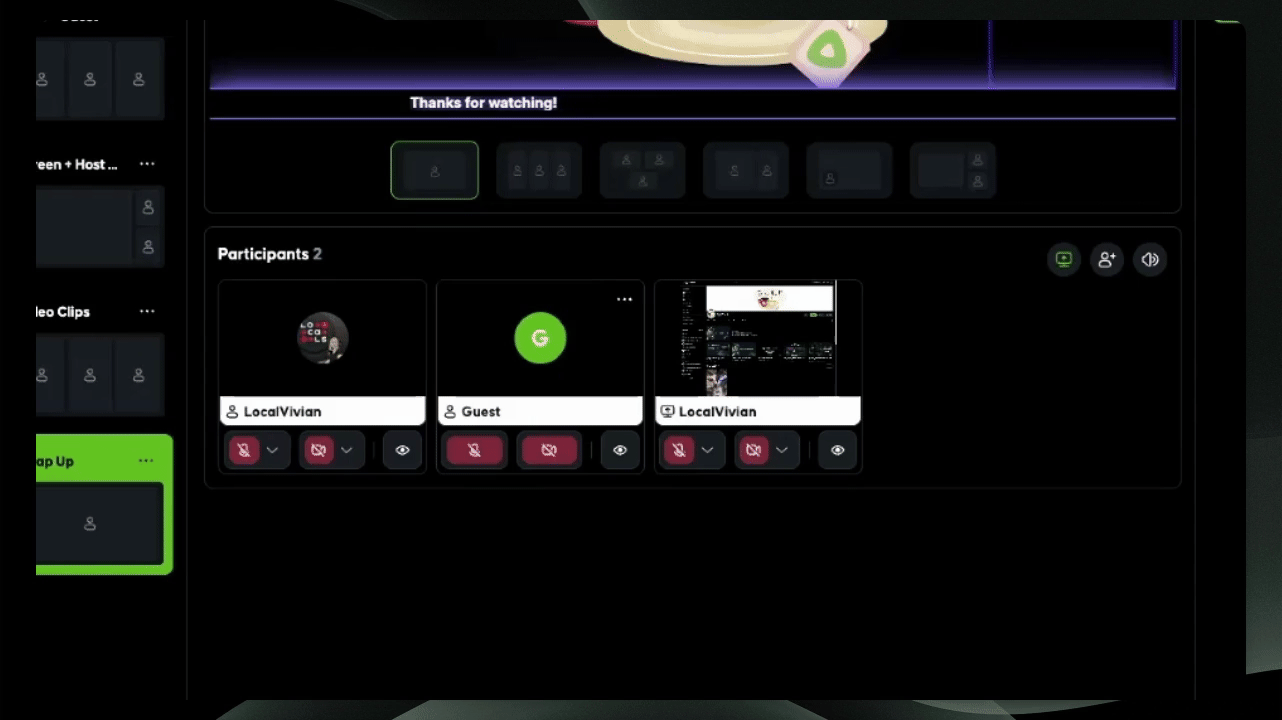
Control Guest Visibility
Use the eyeball icon under the Participation tab to quickly toggle a guest’s visibility on screen.
This allows you to hide a guest from the canvas without removing them from the stage.
Important:
Hidden guests remain on stage.
Their microphone stays active unless muted.
This is helpful when you want to temporarily move someone off-camera without removing and re-adding them to the stream.

Manage Audio Controls
Use audio controls to mute or adjust the volume of your guests.
Be aware that your mic remains hot when switching scenes.
Step 5: Start Screen Share
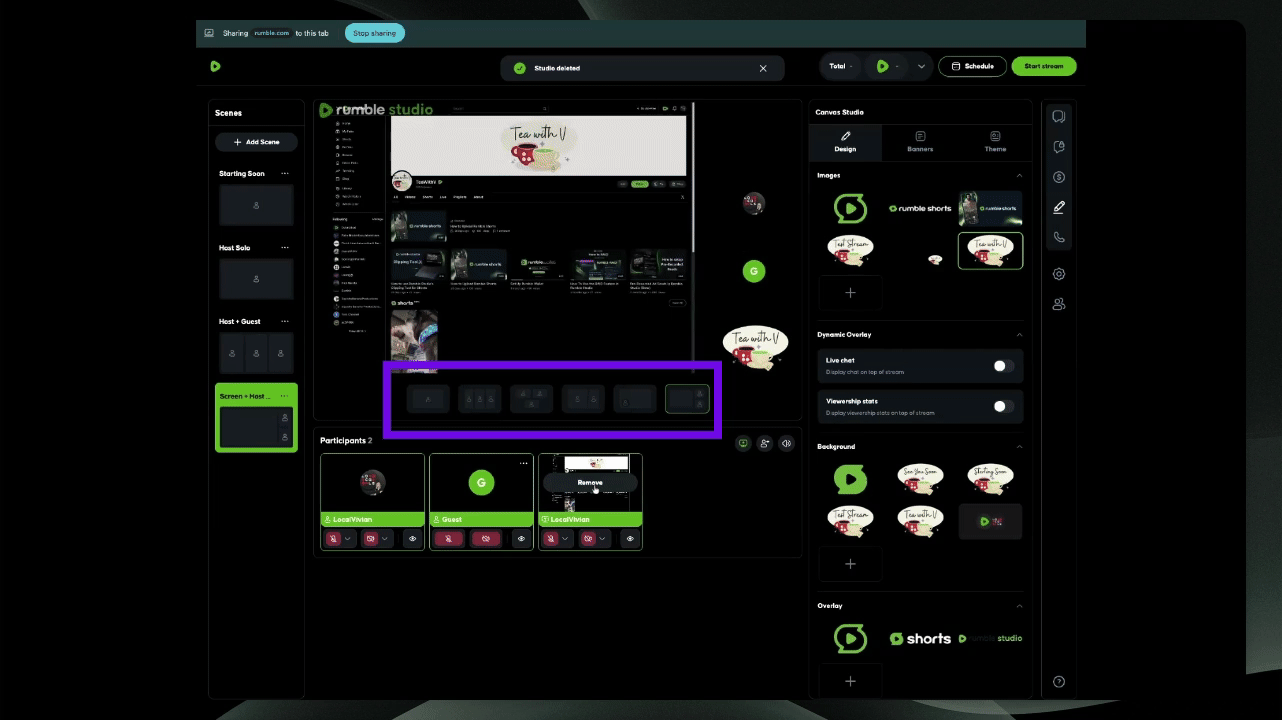
Select Start Screen Share, then choose to share a tab, a window, or your entire screen.
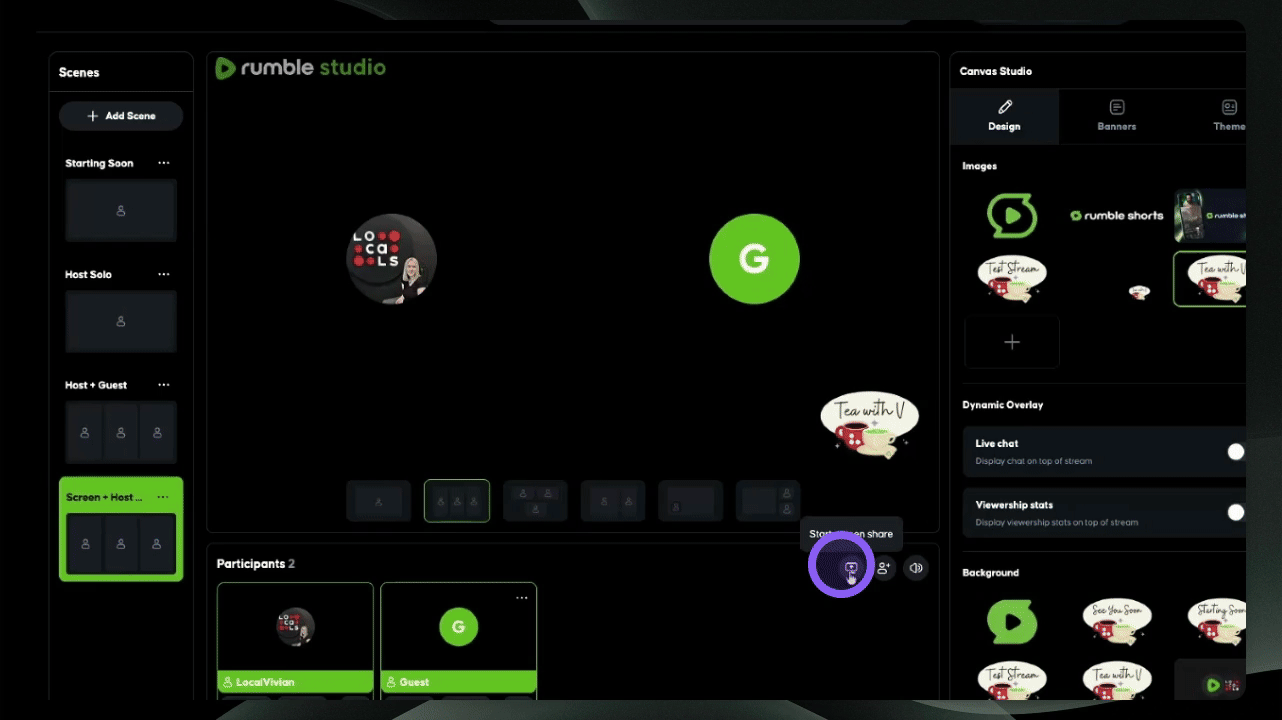
Add Screen Share to Stage
To view the shared screen, add it back to the stage.
Switch the dynamic view to change the appearance of participants and screen share.
Step 6: Go Live
Update Stream Details
Select the gear icon on the right-hand side of your stream settings.
Here, you can:
Update your stream title
Edit the description
Upload a thumbnail
Adjust categories and other stream details
You can also update this information while you're live.
Select Streaming Destinations
At the top menu, select the Rumble icon dropdown next to “Schedule Stream” or “Start Stream.”
Choose your streaming destinations.
You can:
Go live on Rumble and Locals first
Add additional destinations after you’re already live
Start broadcasting to other platforms midstream
This gives you the flexibility to expand your reach at any time during your broadcast.
Step 7: End Broadcast
When you're finished, select End Stream.
You can remain in the room with participants to wrap up your conversation.
Your broadcast will conclude once you end the stream.
Remove Participants
When you're ready to fully remove guests, select the three dots next to their name and remove them from the stream.
Return to Homepage
Click the Rumble icon to navigate back to the studio.rumble.com homepage.
All scenes will be saved, allowing easy access for your next live stream.